Twin track uprights installation progress
It was a productive day on the layout. In the morning, we finally figured out what the minimum height should be for the middle level, which was a needed parameter to start installing uprights. Then I proceeded to cut couple of 70″ twin track standards I bought the day before into 3 equal parts, about 23-5/16″ long. I had to drill an additional hole in every two pieces, so they all have 3 holes for screws.
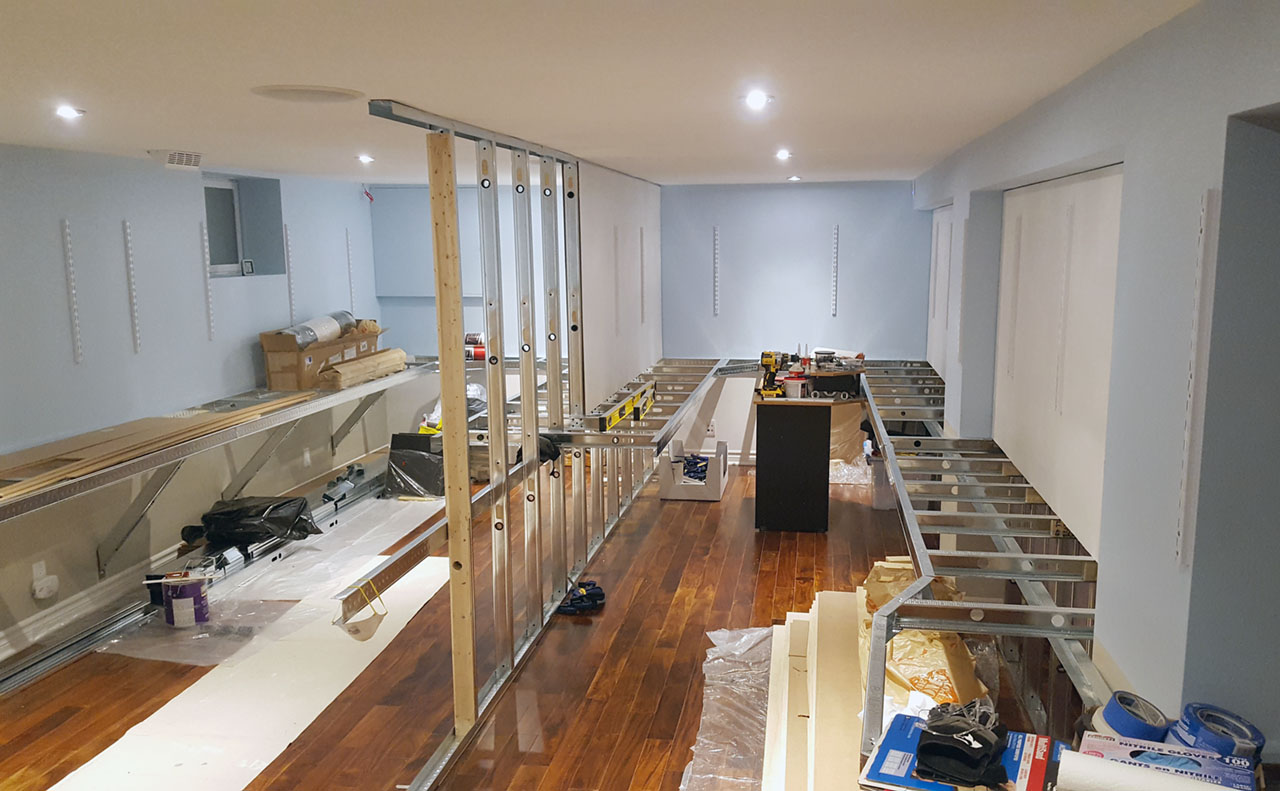
Installation was a learning experience I must admit. I thought that if I perfectly measure and level everything and pre-drill holes, standards will just fall in place. Even used a laser level to make sure everything lined up vertically. Alas, the first two uprights ended up being off, higher by almost 1/8″ than they should be. The top screw basically pulled it up that much because I couldn’t really find the exact center of the hole in the upright when I marked it.
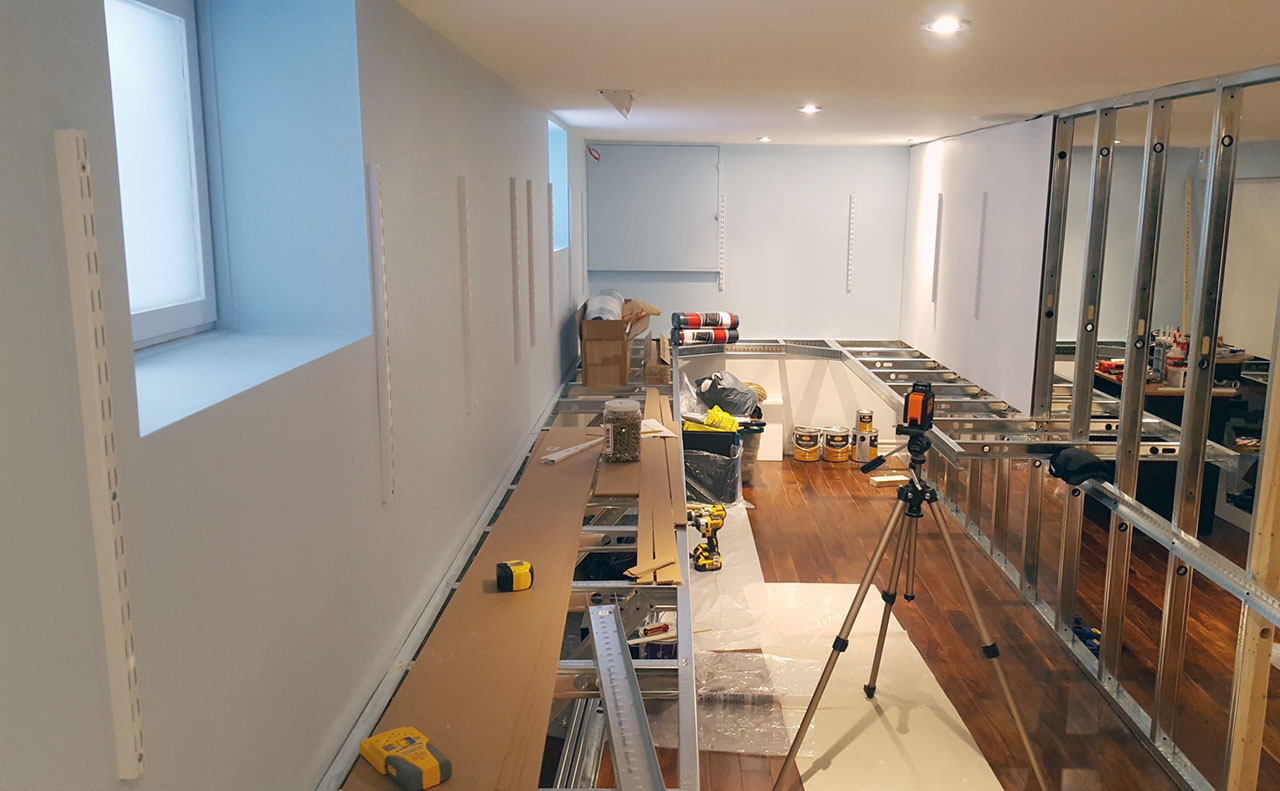
So, I decided to change the strategy. Instead of pre-drilling holes, I would align and level the upright, hold it and drill through the middle hole, then drive a screw into the wall, then finish the other two holes the same way. This proved to be a much easier and better way of installation. It generally went smooth and steady, only had to stop when I ran out of pre-cut uprights.
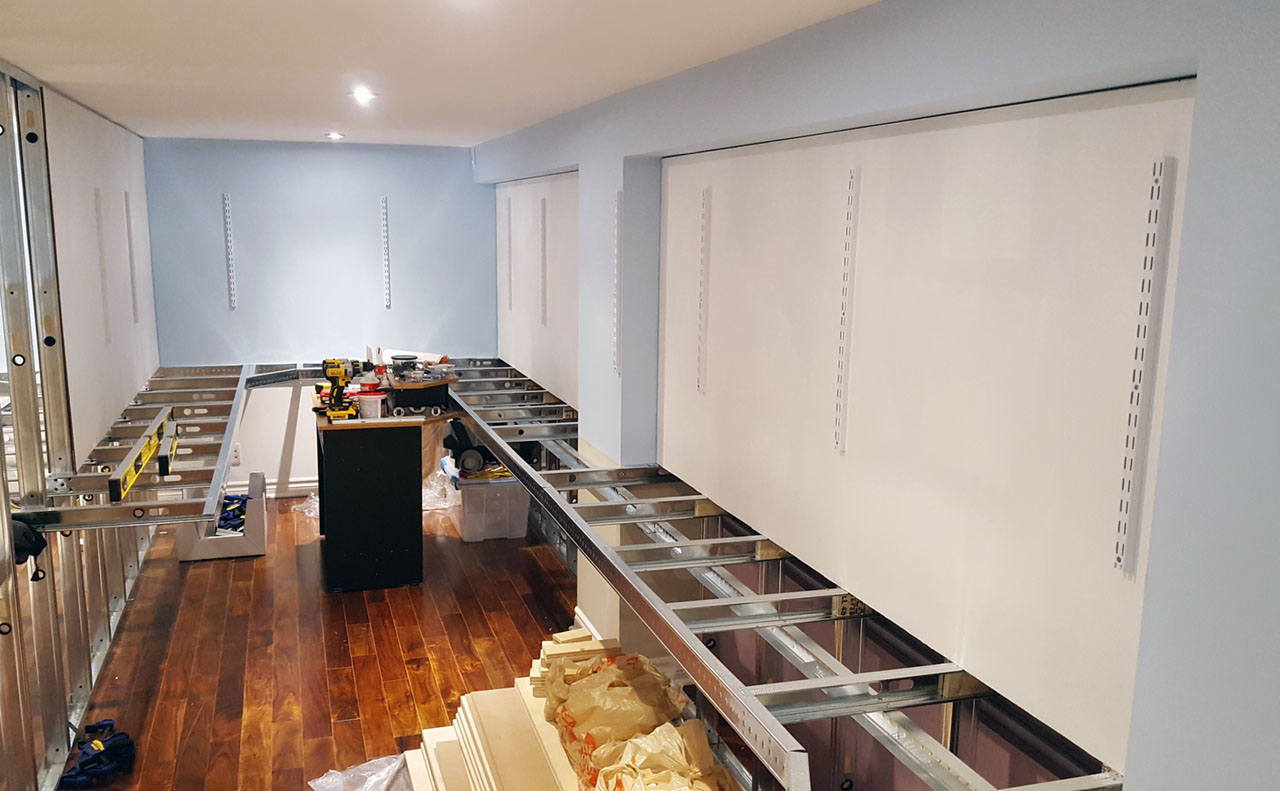
Remaining to be installed is the area North of the columns. Then I really need to finish the peninsula: build the head of peninsula, install the two hardboard backdrops, spackle and sand them, prime over again, install uprights. After that paint all the new backdrops and uprights sky blue to match the rest of the room…