Custom Turnouts For the Staging
The room being only 12 ft. wide is pretty tight on curves, so to turn around corners I used custom turnouts in designing the staging yard. Seemed like a good idea at the time thought it meant I had to hand make turnouts. A sane person starting on a big layout for the very first time, without any experience hand laying track, would choose to maybe make one custom turnout – a straight one, for shits and giggles. I dived into making 5…curved…turnouts, all having both curved point rails and curved frogs. Let’s go!
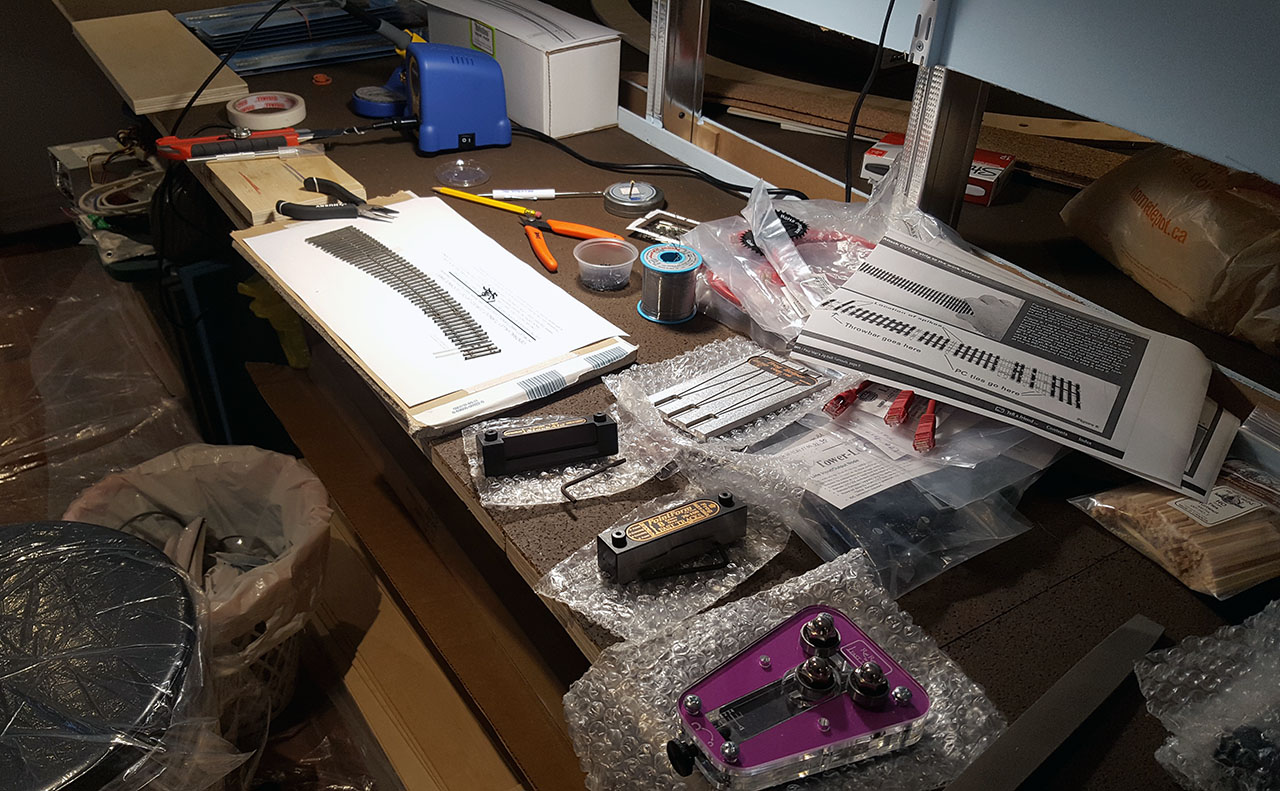
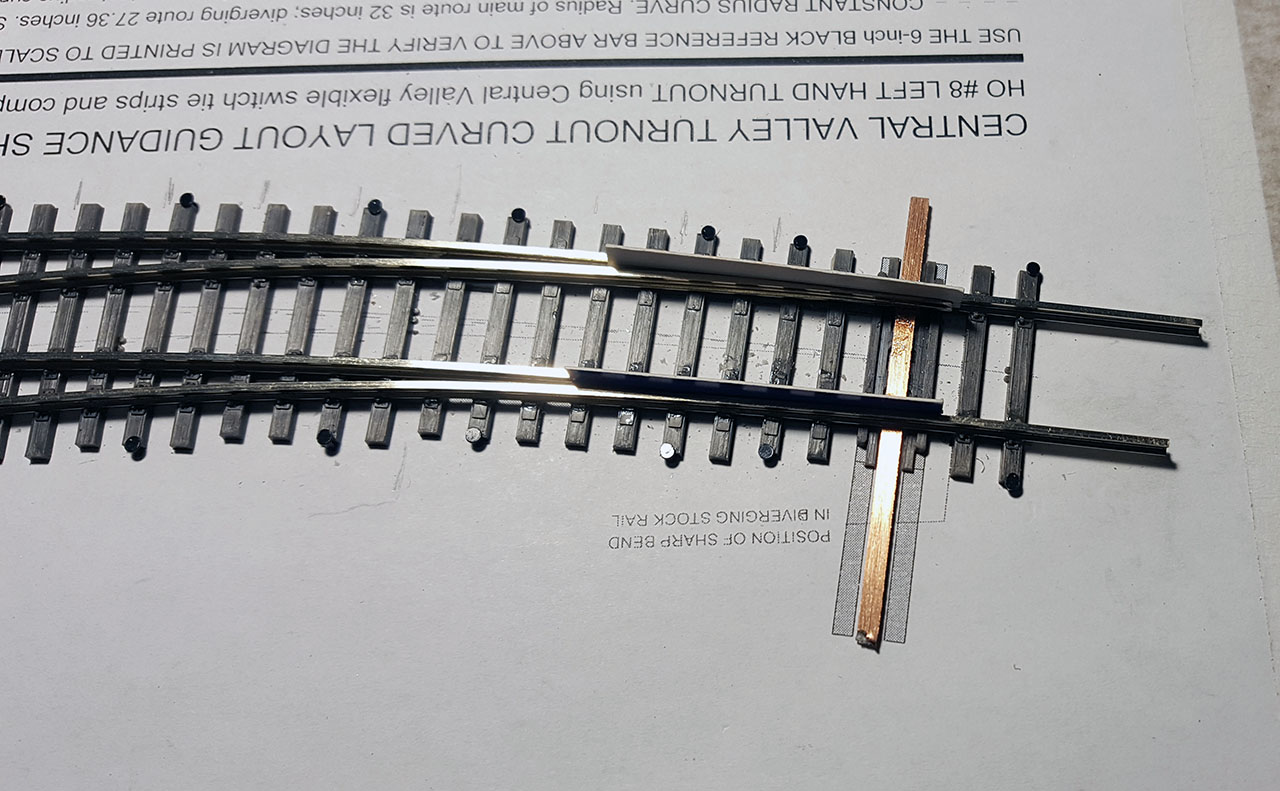
I wasn’t totally crazy, although I’m sure using just PCB ties would’ve worked out too, so I opted to try my luck with Central Valley Models Works turnout ties, which are plastic switch tie strips with molded tie plates. These tie strips are self-gauging and one just needs to insert the track into the plates…for the most part. The catch was that they are made for code 55-83 and I’m using code 100 rail, although it appears to fit just fine.
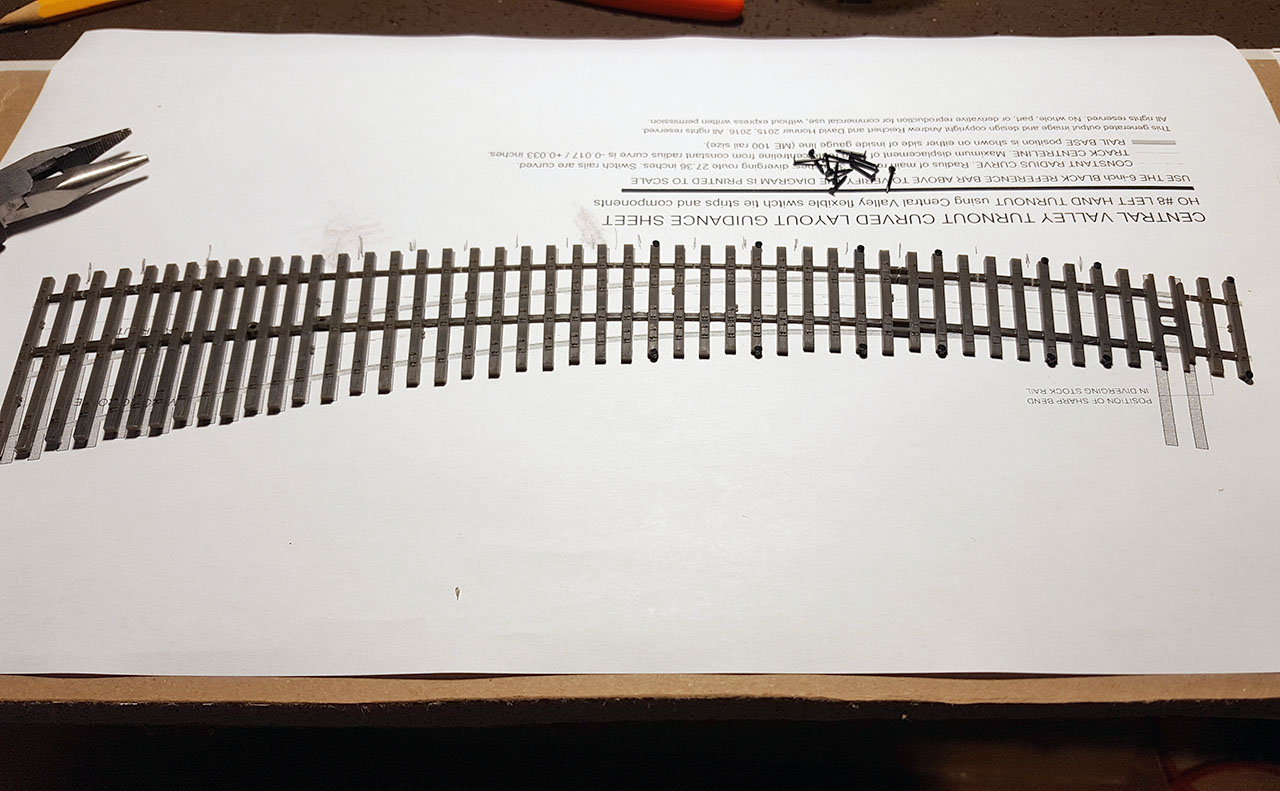
I printed a template and taped it onto a piece of drywall. Then used rail spikes to hold the tie strip in place. That was a pretty good tip from Joe Fugate’s article in September 2011 MRH.
I started with the frog, then moved onto stock rails then closure rails, which are all one piece with point rails. First turnout took hours to make, me being new to all this, though using Fast Tracks tools is a real pleasure and I’m glad I invested into it. I’m actually thinking I’ll make all of the turnouts on this railroad…we’ll see.
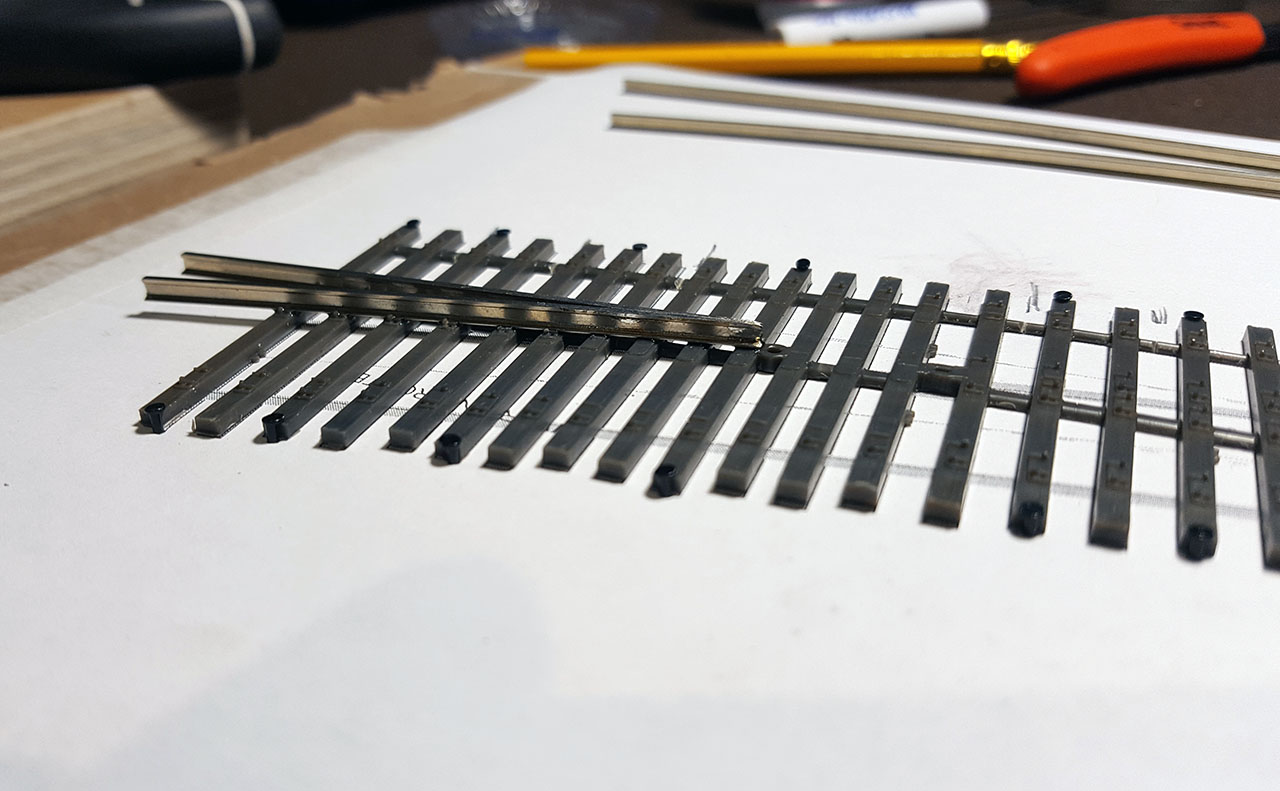
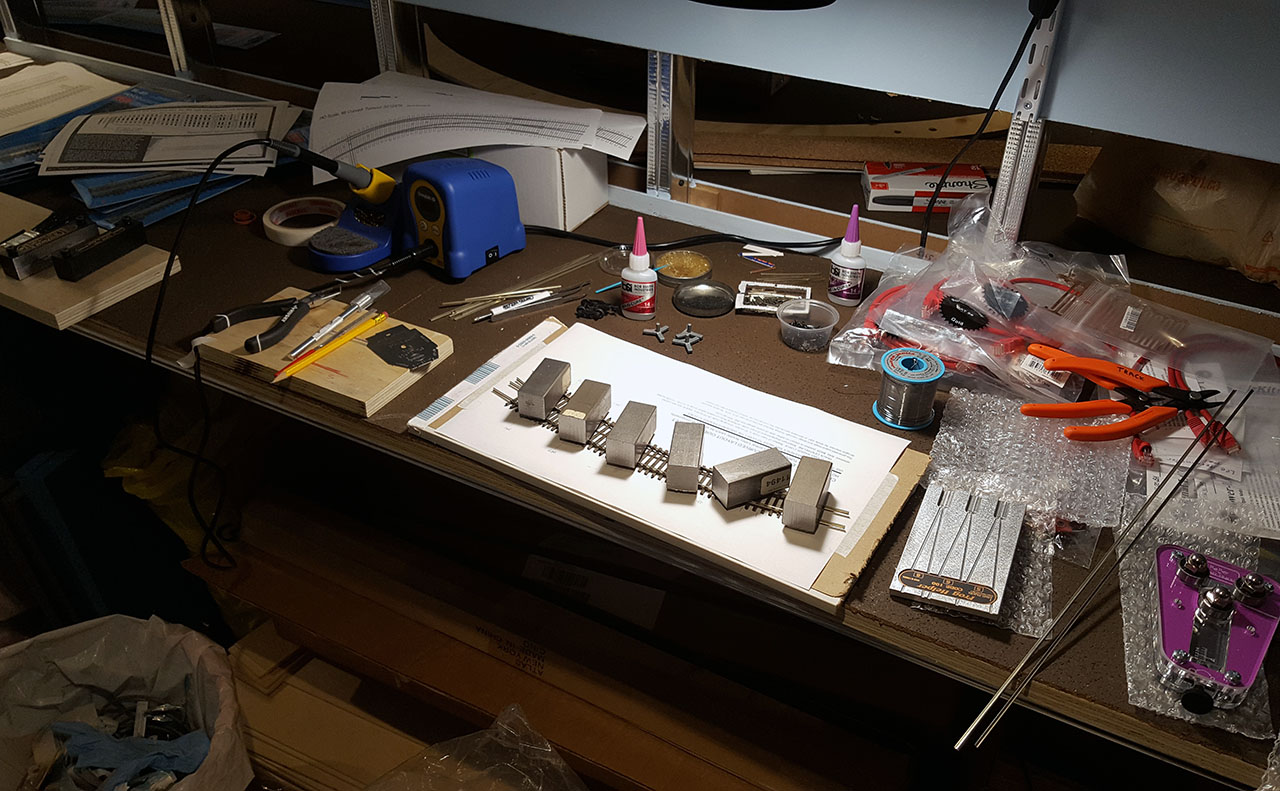
I used weights made of machining mild steel to hold the track down while it was drying (I used CA to glue rail to the ties).
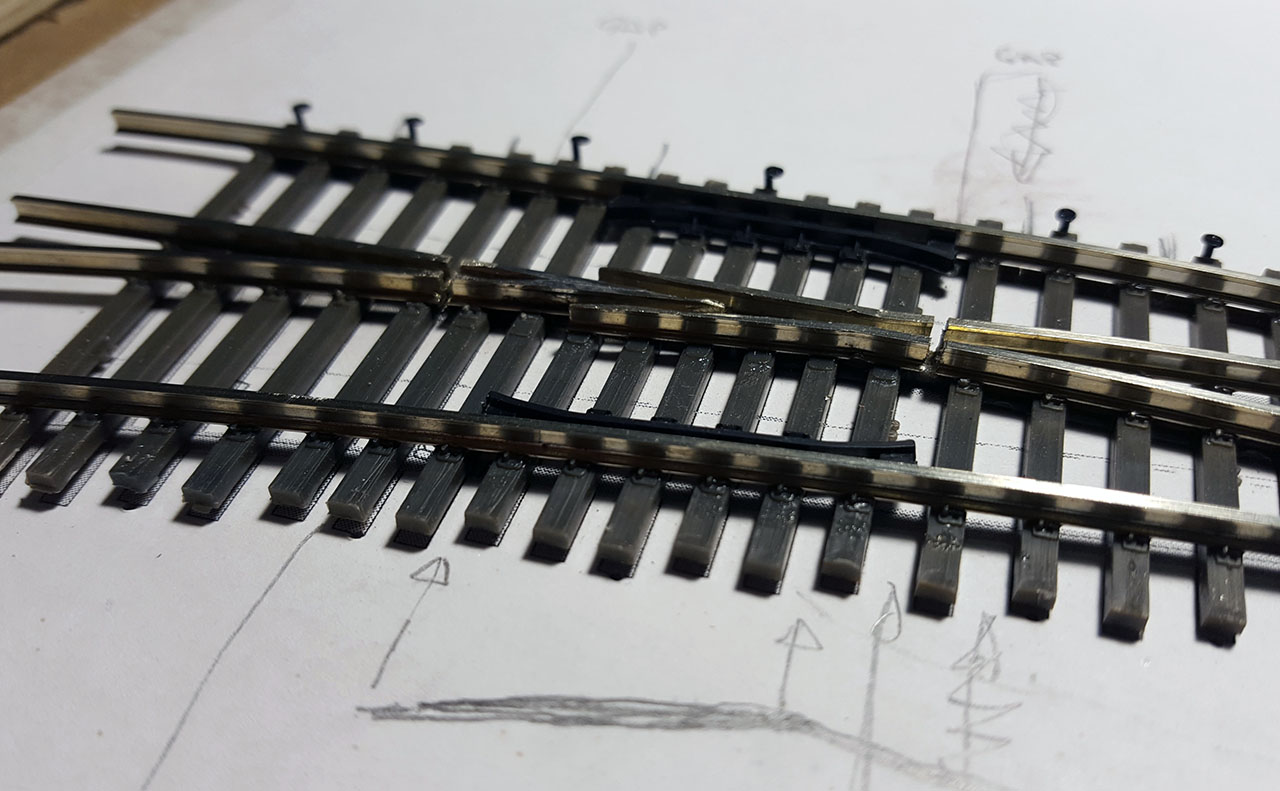
Next came soldering point rails to the PCB tie. I actually had on hand CVMW turnout detail kits which included the whole throw bar assembly for this turnout (serendipity) but did not use it because I read that others had tried it and did not like it. So a plain PCB tie is.
In hindsight, I should’ve filed the gap on the PCB tie before soldering, to remove the electrical short. Just one more thing to do when I’m preparing these turnouts to be DCC ready.
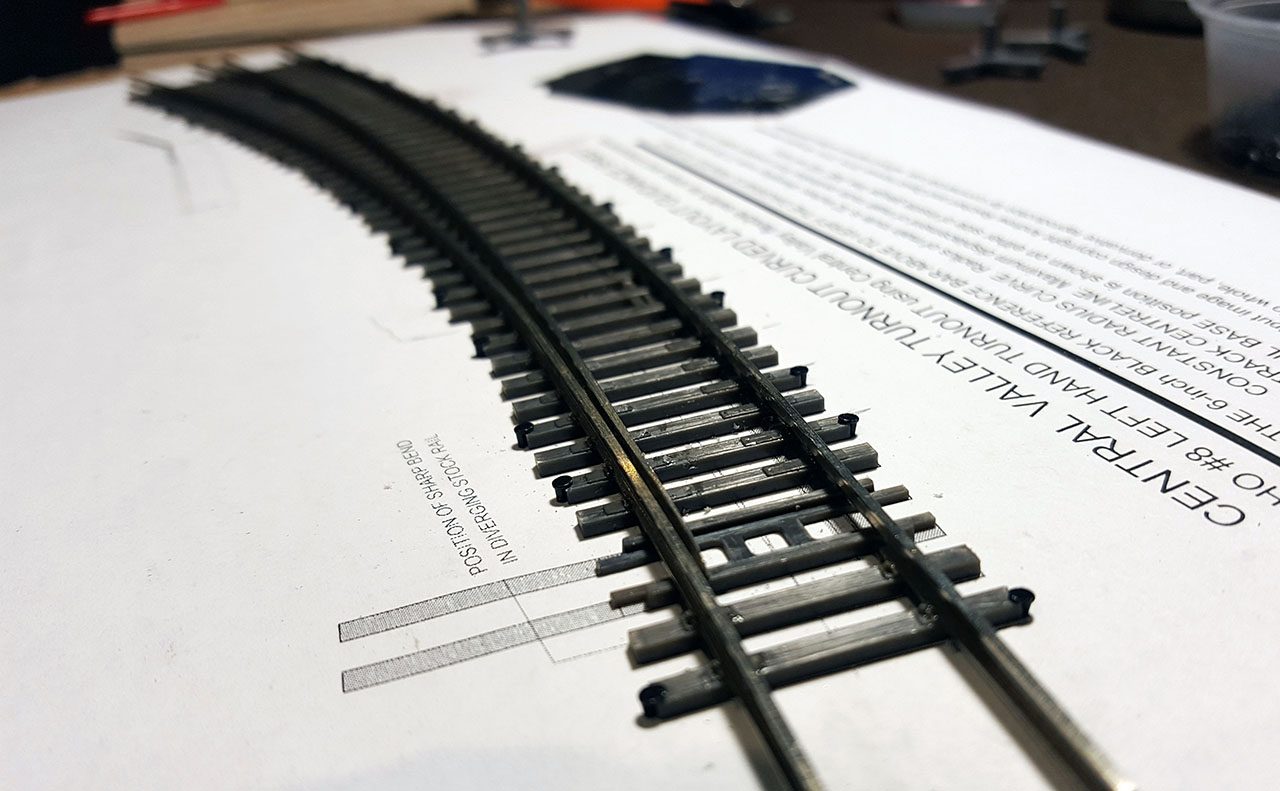
I cut the two gaps in rail and used the plastic guard rails from the kit to finish it up. I’ll fill the gaps with styrene afterwards.
All in all I made 5 turnouts over the weekend and each one took less time to do, but nowhere near to 1 hour (as advertised) – more like several hours. Then again, I wasn’t use Fast Tracks jigs and these are custom curved turnouts as well…each tie strip had to be prepared and spiked into the drywall board, etc.
I placed a few turnouts in their approximate position in the staging to see how it all looks like.
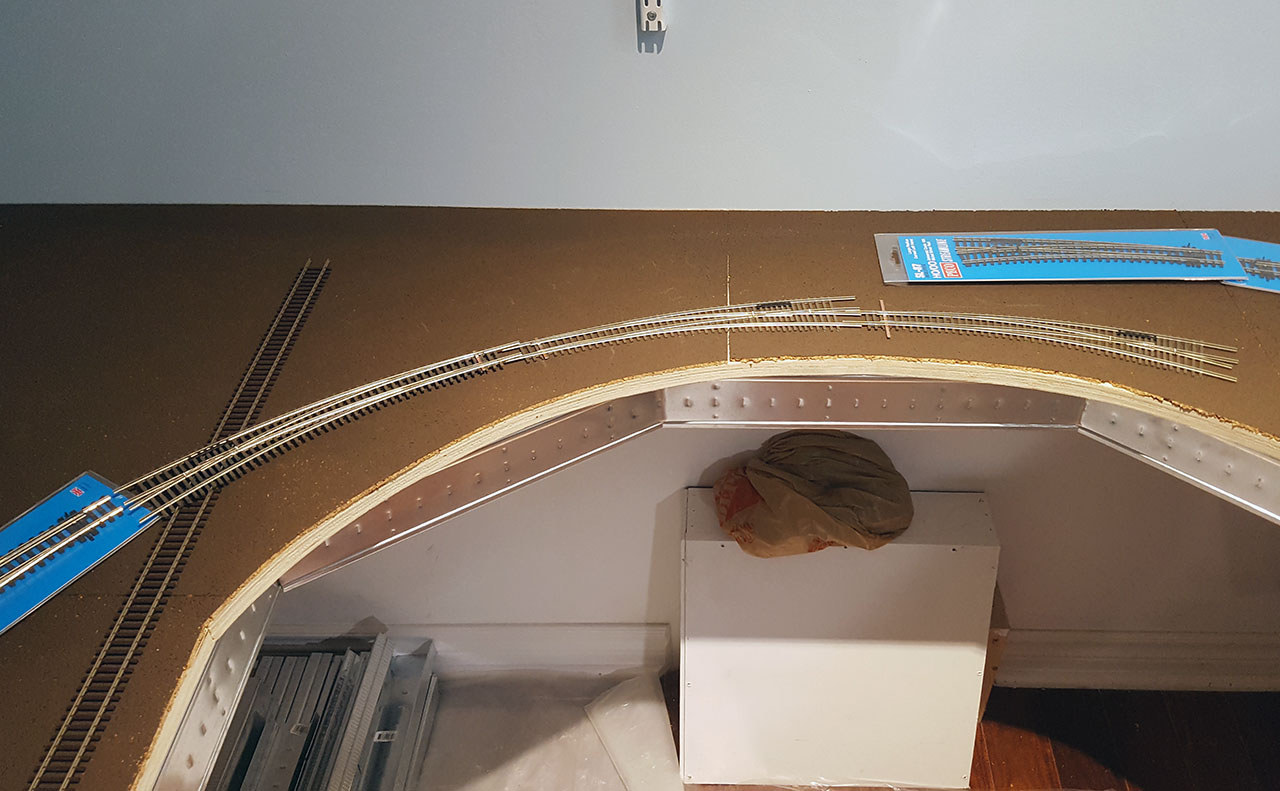
Hey, looks good..maybe I’ll weather these just for the kicks. I did get a spray can of Rust-Oleum Camouflage Earth Brown, but it has been raining so couldn’t paint outside. Perhaps soon.