A very first video in the Newbridge & Lockport RR playlist has been posted on YouTube. It’s very (very very) long overdue as it was shot at the end of 2017, at the beginning of my current model railroading journey.
Been a long time…
Since the last update to the site. Terribly sorry about that to anyone following this blog.
The layout has been progressing at a steady pace into the Summer of 2019, and then of course house projects took over my free time. Although, I did find a bit of time to work on the layout, I soon realized that this was not what I wanted.
Building the Main Staging Yard, part 4
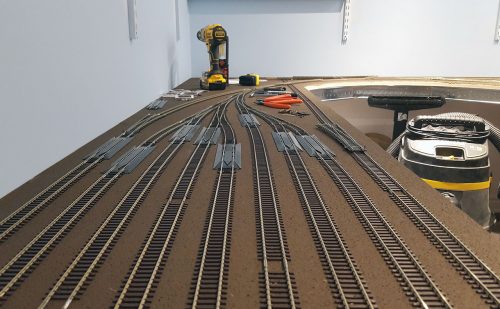
Continuing on with the work in the staging, it would appear as if the crews are working around the clock (hope the union doesn’t catch wind of that). Those straight sections I mentioned in the part 3, well they are done, and more. The entire West ladder is complete, including the re-railers.
Quick weathering custom turnouts
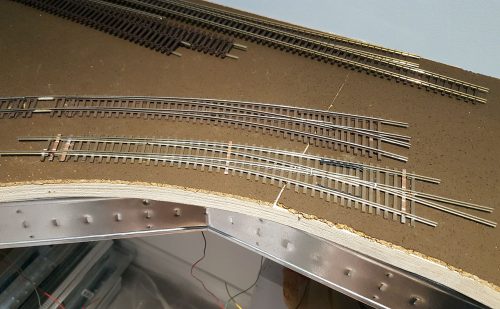
Originally I wasn’t going to touch the handmade turnouts but after putting the PCB ties on, they stuck out like a sore. So, I decided to do a quick coat of Rust-oleum Camouflage Earth Brown…a comparison photo below.
Building the Main Staging Yard, part 3
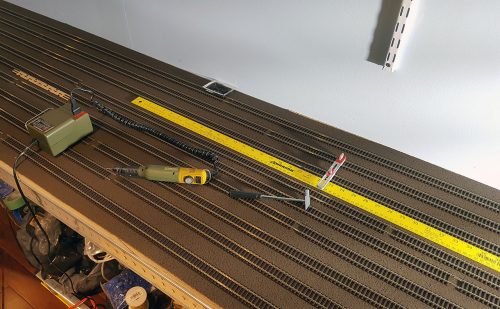
Oh boy, I really feel I’m on the roll. Either that, or the desire to get the straight sections of the yard over and done with. Did I mention boring, tedious and repetitive?
Building the Main Staging Yard, part 2
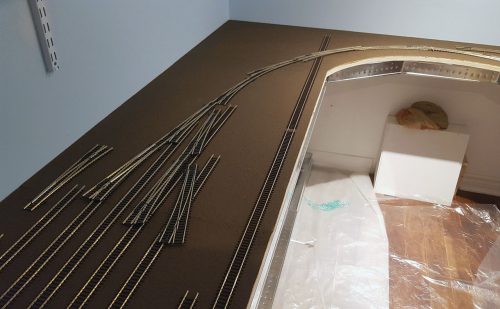
Work continues in the staging with the MoW crew busy test-fitting the West ladder of the main yard. Turnouts are so much more fun as things can always go wrong. Straight track is just that – straight, but for turnouts you need to drill holes for the motor, feeders, etc.
Custom Turnouts For the Staging
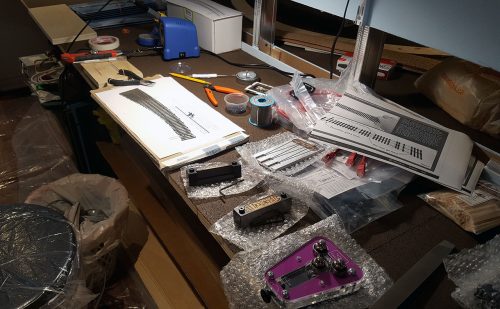
The room being only 12 ft. wide is pretty tight on curves, so to turn around corners I used custom turnouts in designing the staging yard. Seemed like a good idea at the time thought it meant I had to hand make turnouts. A sane person starting on a big layout for the very first time, without any experience hand laying track, would choose to maybe make one custom turnout – a straight one, for shits and giggles. I dived into making 5…curved…turnouts, all having both curved point rails and curved frogs. Let’s go!

