The Helix, part 2 of many
Finally more time to work on the helix – blasted work keeping me away from them trains!! Actually, I also needed more materials, namely a piece of rubber, 1/4″ thick, for the first ramp base. Though, I think I’ll just use rubber fender washers instead to build up to 1/4″ thickness, then drive T-nuts through that and call it done. I’m tired of trying to figure out crazy ways of doing things.
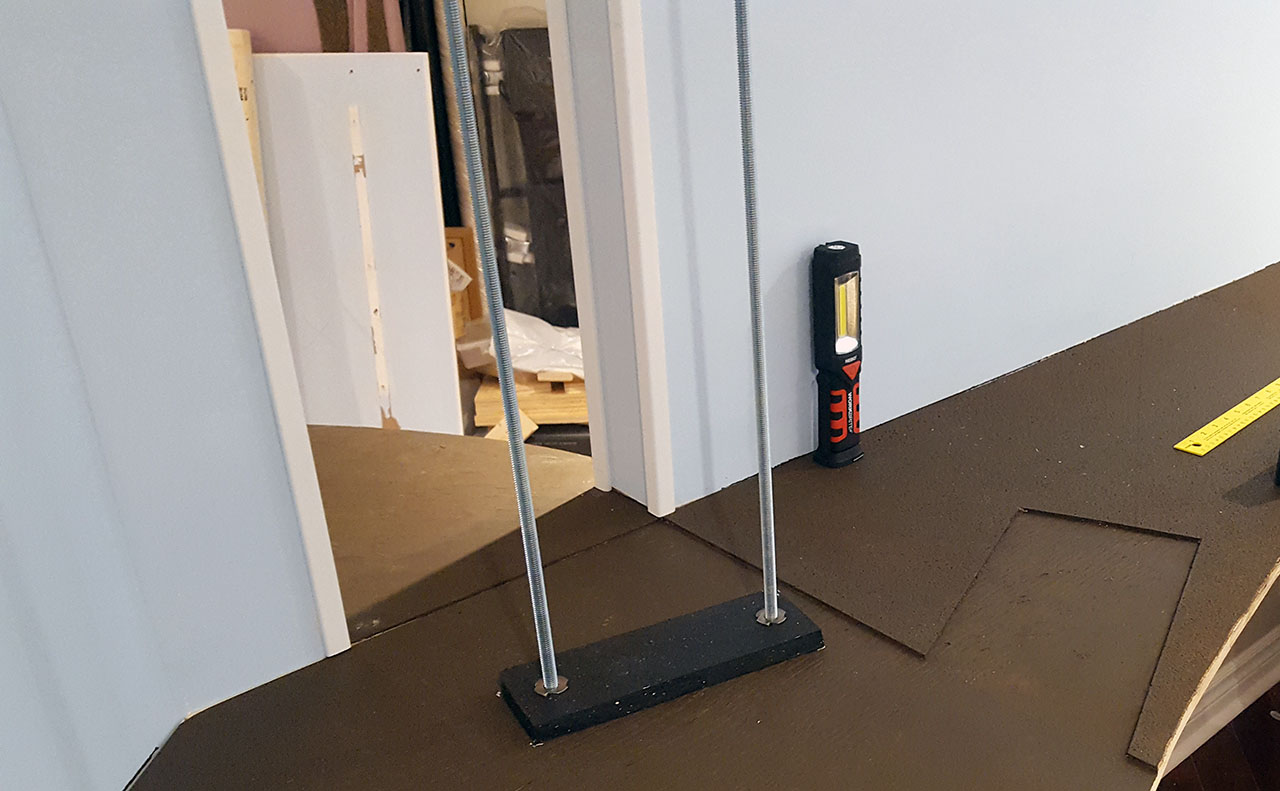
This is just a test-fit, to see how things come together and, I like it! I mean I did not mess up the hole spacing (7″ apart) for the helix plywood segments. For now at least, we’ll see what happens when I reach loop 7…
The image above is the last pillar, in the diagram below, the H.

What I’m missing right now is the base for B, because that is the lowest point (closest to the benchwork) and I need some thin piece of rubber (1/4″) to make up for the difference between the benchwork and the helix segment, as well as to provide some noise decoupling. Trip to Home Despot and Lowers tomorrow to look for more rubber fender washers of appropriate size.
Speaking of rubber washers, this is what the connection looks like from below:
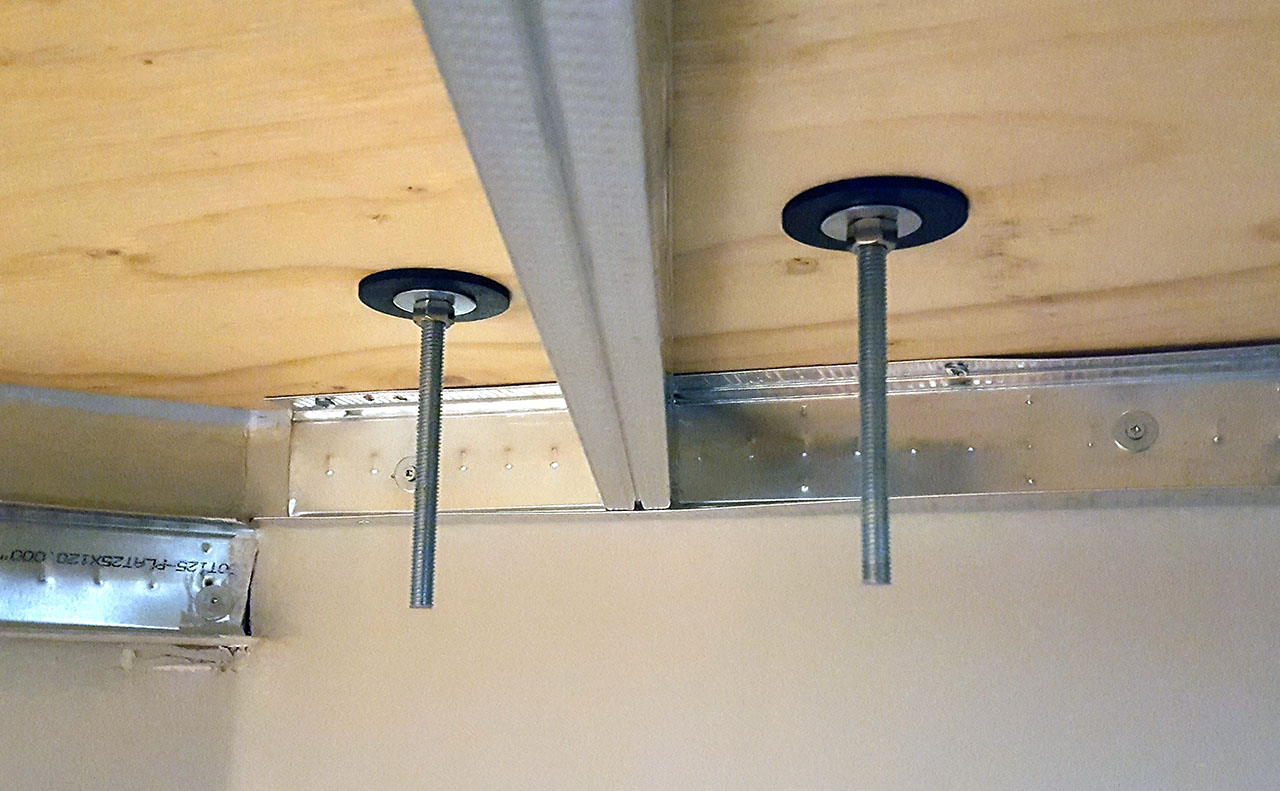
I did not trim the rods yet as I don’t know exactly how high they need to be, and I will probably leave them like this until the end. Just in case, you know, if Murphy decides to spoil my plans.
I used a large rubber fender washer (3/8″ ID) and a nut, temporarily. I will replace that normal nut with a nylock nut, so it stays put, once I finalize the base for B.