The Helix, part 3 of many
Slow start to the day…as always a lot of time wasted at Home Despot and Lowers, with multiple trips, plus running other errands, etc. Fun. Not. Oh yeah, check out the reverse super-elevation (1/16″) on the inner rods. I opted to do this instead of adding hundreds of tiny plastic bits under the track. The effect is the same, yet the time spent is minimal.
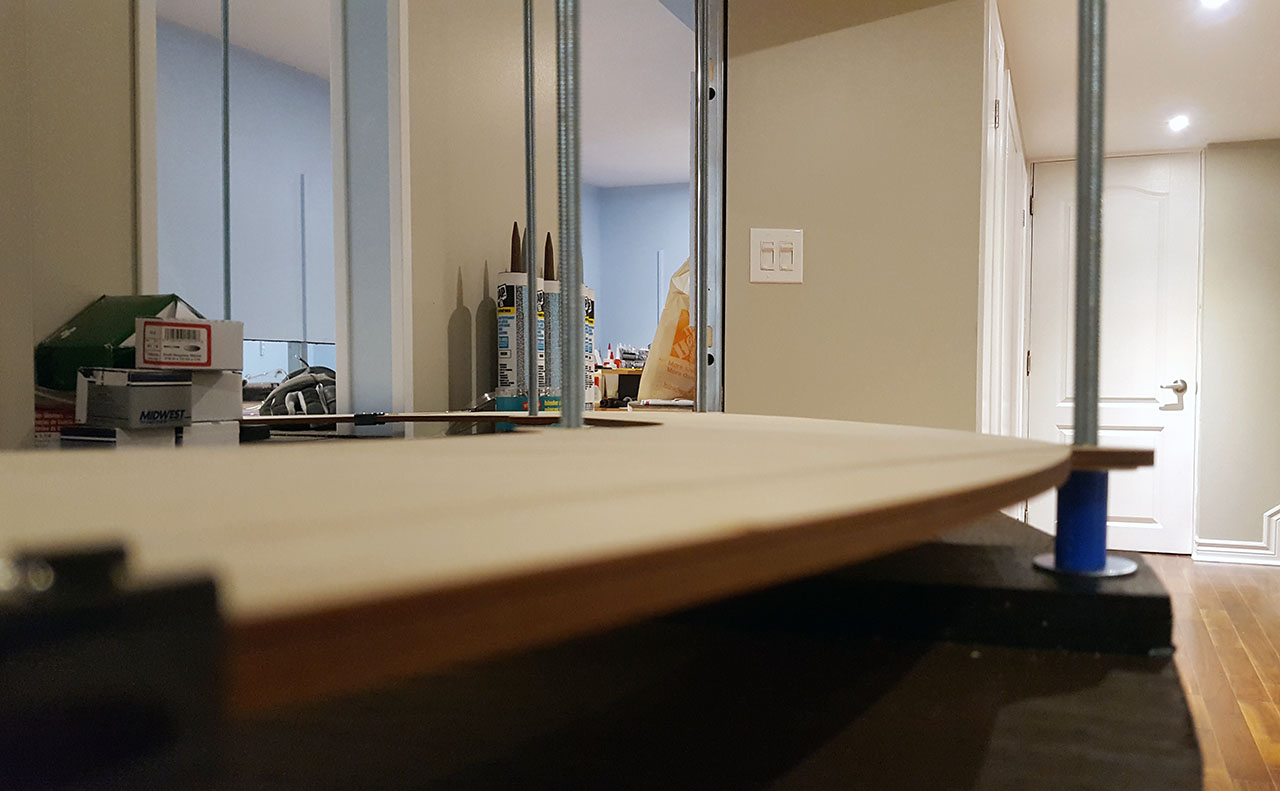
I know it looks excessive here, but that’s just me not holding the camera levelled. I’ll go and check the % with a digital grade meter later.
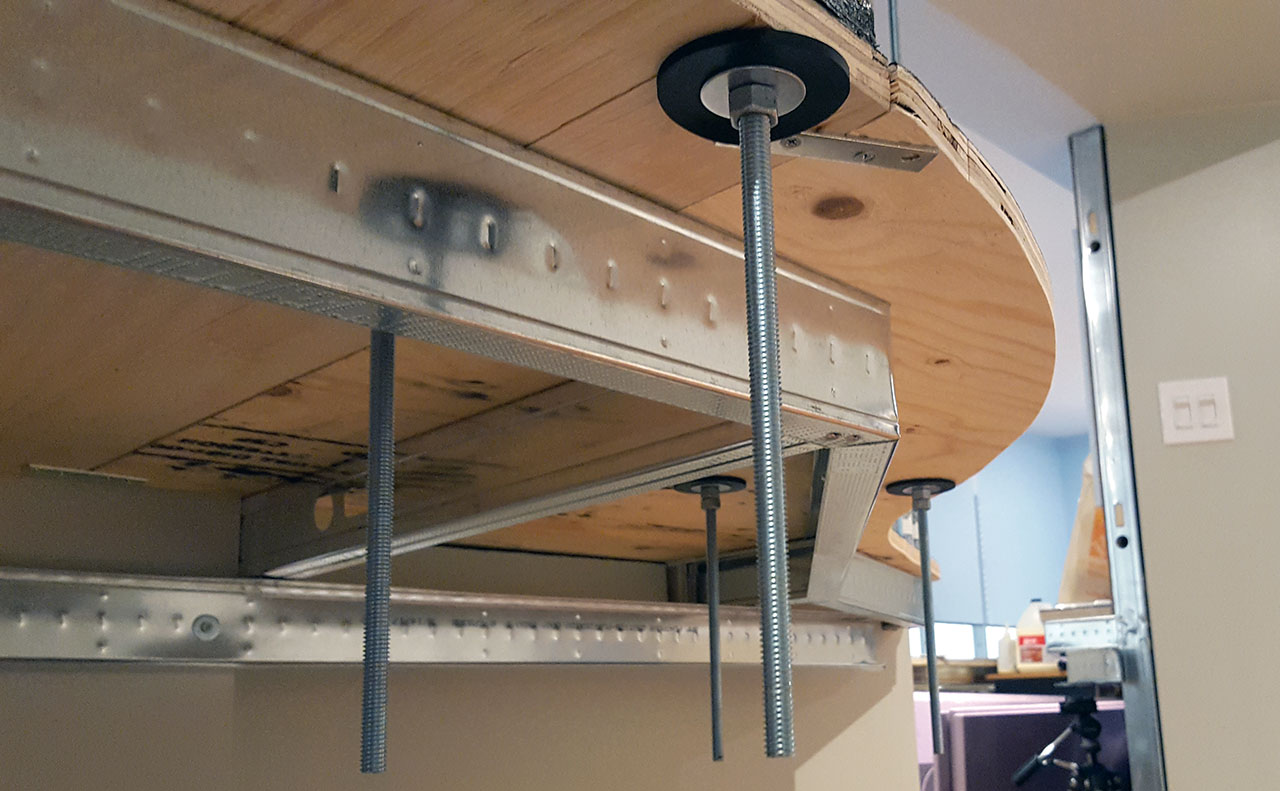
I started the work by hammering all the T-nuts into the rubber footings. Despite drilling the hole of appropriate size (1/2″), it didn’t just slide in, I suppose because those 4 prongs on the T-nut need to wedge themselves into the rubber as well.
Then couple of hours of screwing threaded rods, nuts, rubber and metal washers in…
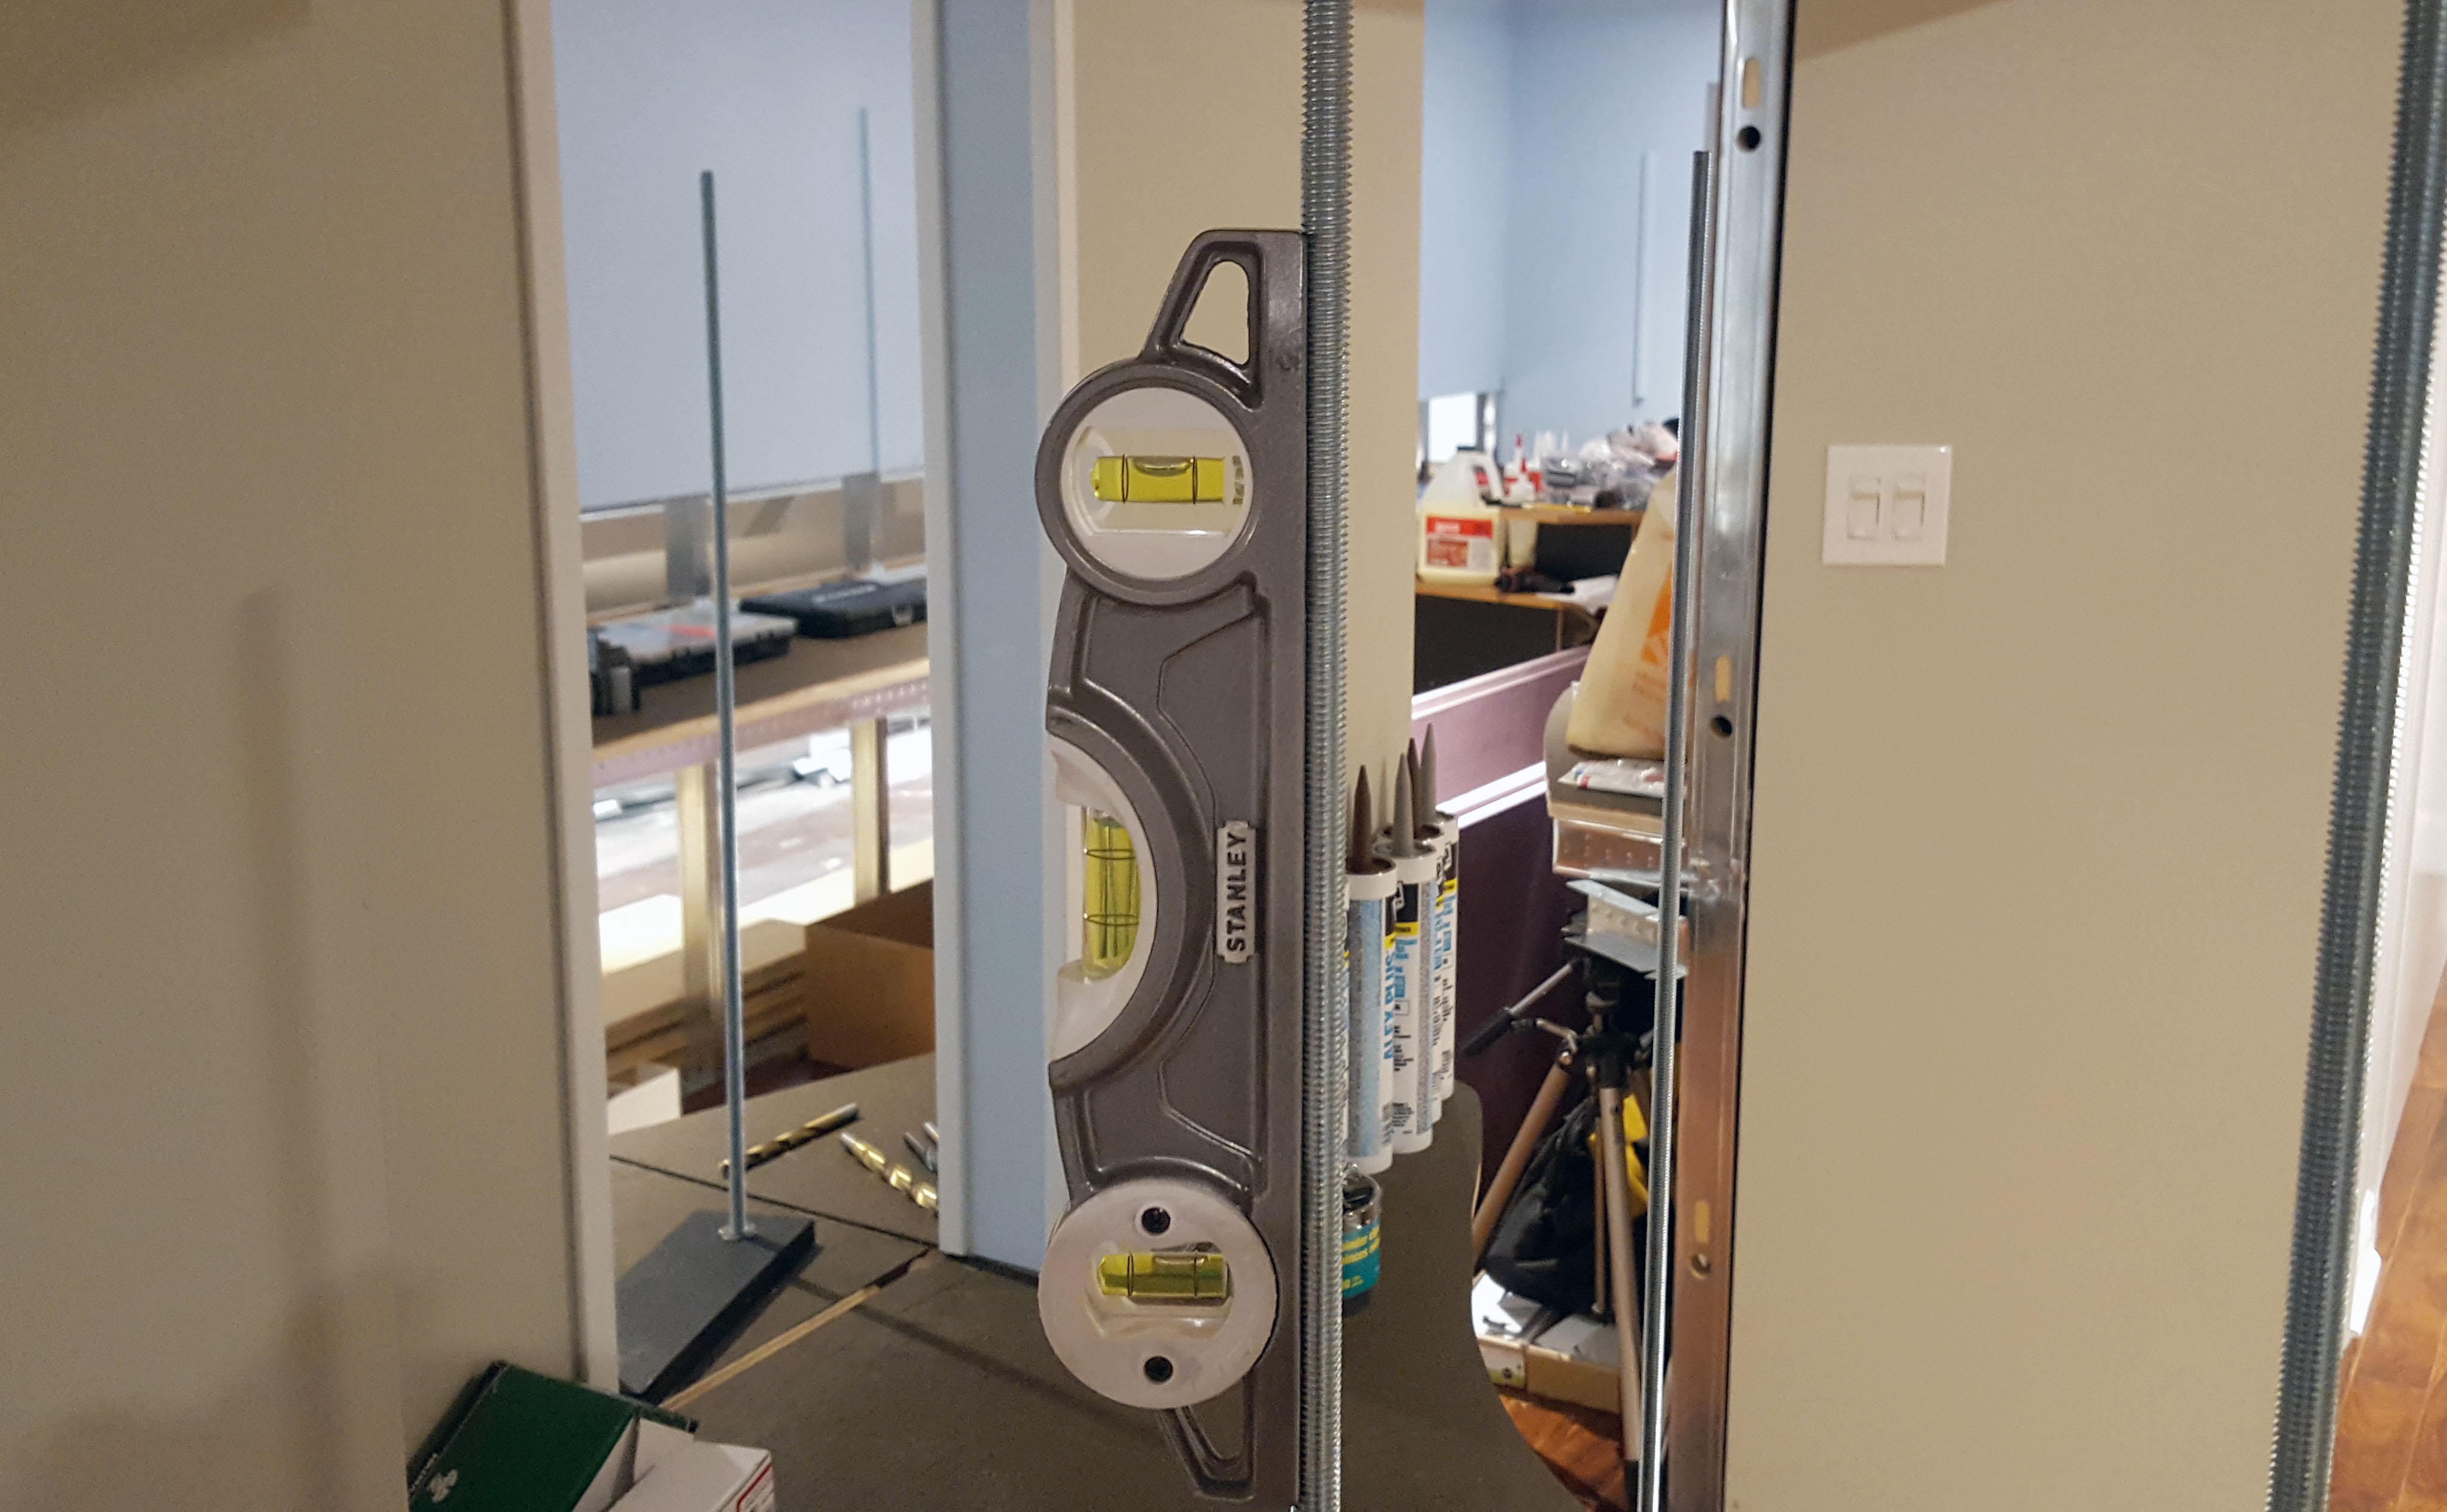
…and making sure everything is levelled. Torpedo level with magnets on the bottom comes really handy in this case.
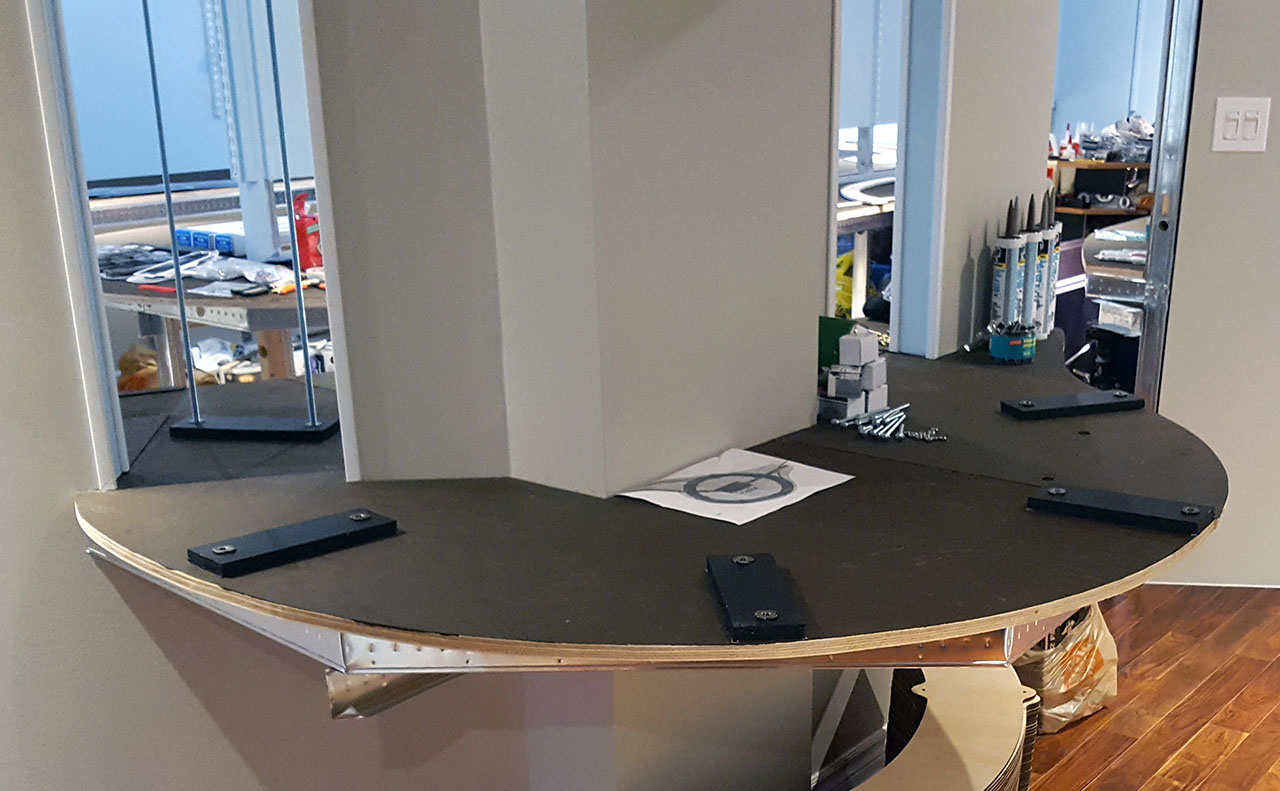
After that is done, all rods in place look pretty promising, now awaiting the sub-roadbed.

Hours later of fiddling, measuring, calculating and measuring, drilling 3/8″ holes in the sub-roadbed (and chipping bits of plywood surface off…ugh, I should’ve just had them laser cut to size, the dolt I am, instead of making them only 1/4″) then fitting; measuring and calculating and, then re-doing again, we have the final product, loop 1 of 7 with what I hope are correct elevations that set the grade for the rest of the helix.
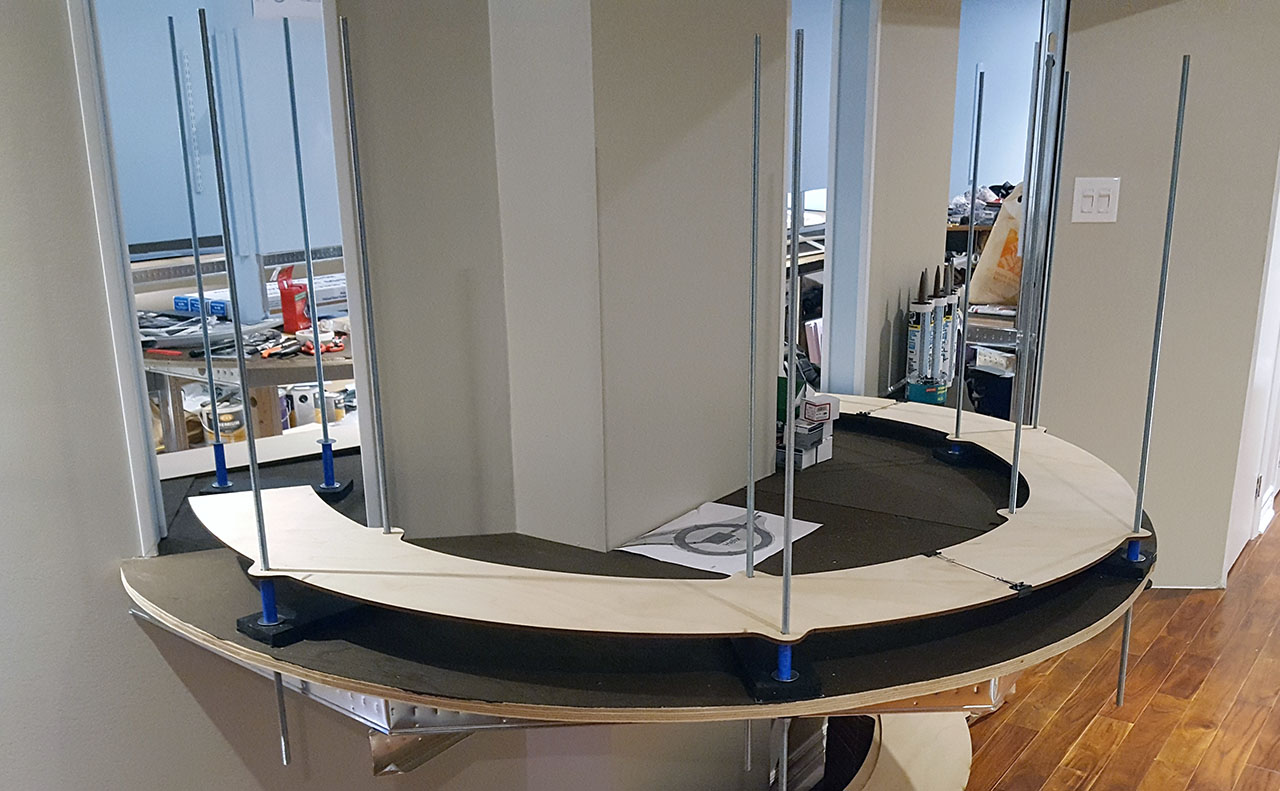
Though, what’s missing here are the other (upper) half of the sub-roadbed surface because I still need to inscribe the track centers on top of the plywood pieces. Which means I need to finish that jig I made and talked about few posts back.
I guess you could call this “fantastic progress”…now, when are we finally going “to do trains?” :)