Custom Built LCC Boards
The Holidays have been slow, I hate to admit it but I squandered my time off doing electronics and code, instead of laying track. The other stuff still had to be done though, as I need to set a direction. With that in mind, I wanted to give a custom board a try that I saw in a LCC clinic video by Balazs Racz on YouTube, because it basically does everything I want: block occupancy detection, circuit protection, track power on/off, and RailCom.
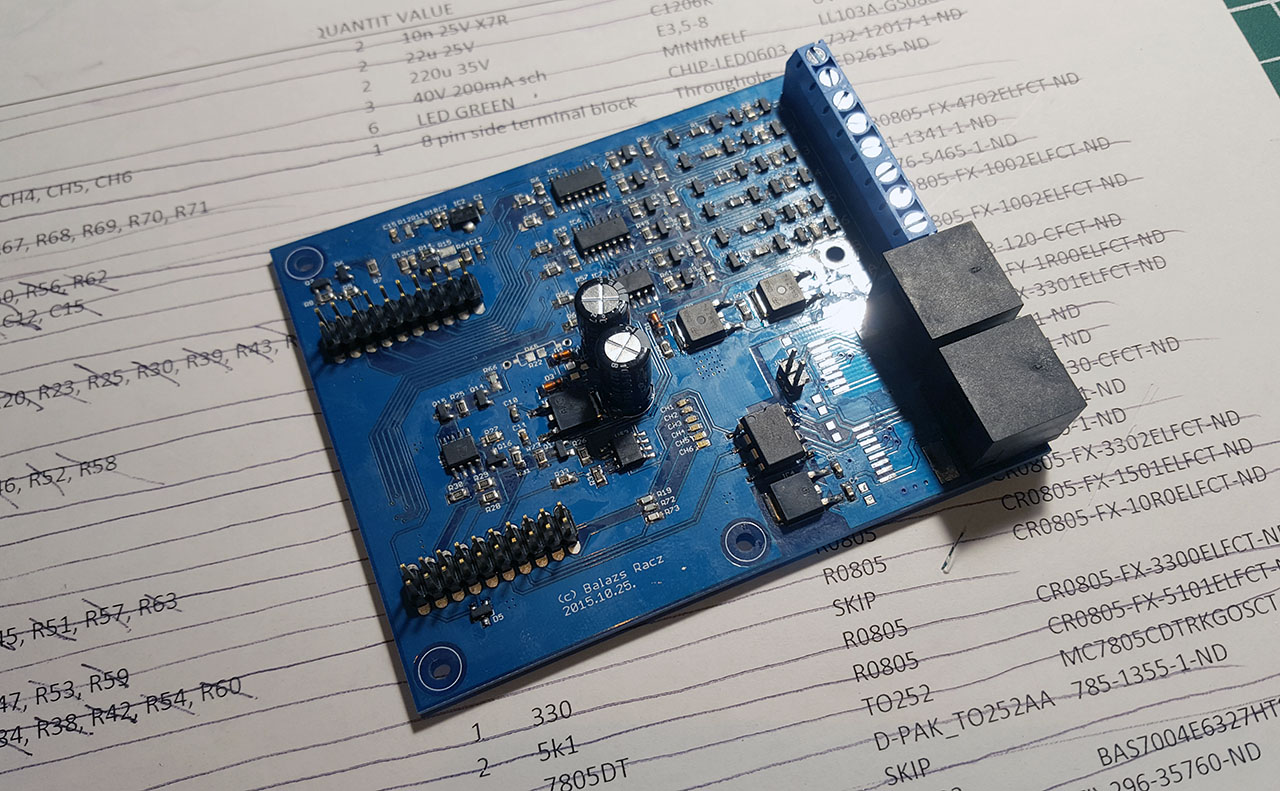
Another reason for trying this is cost. To achieve all of the above (BoD, circuit protection, track on/off, RailCom) would cost ~3x more than the cost of that custom board design I got. The drawback is that the board has 6 channels instead of usual 8 commercial boards such as those from RR-CirKits have, but that’s not a big deal really – just make another extra board.

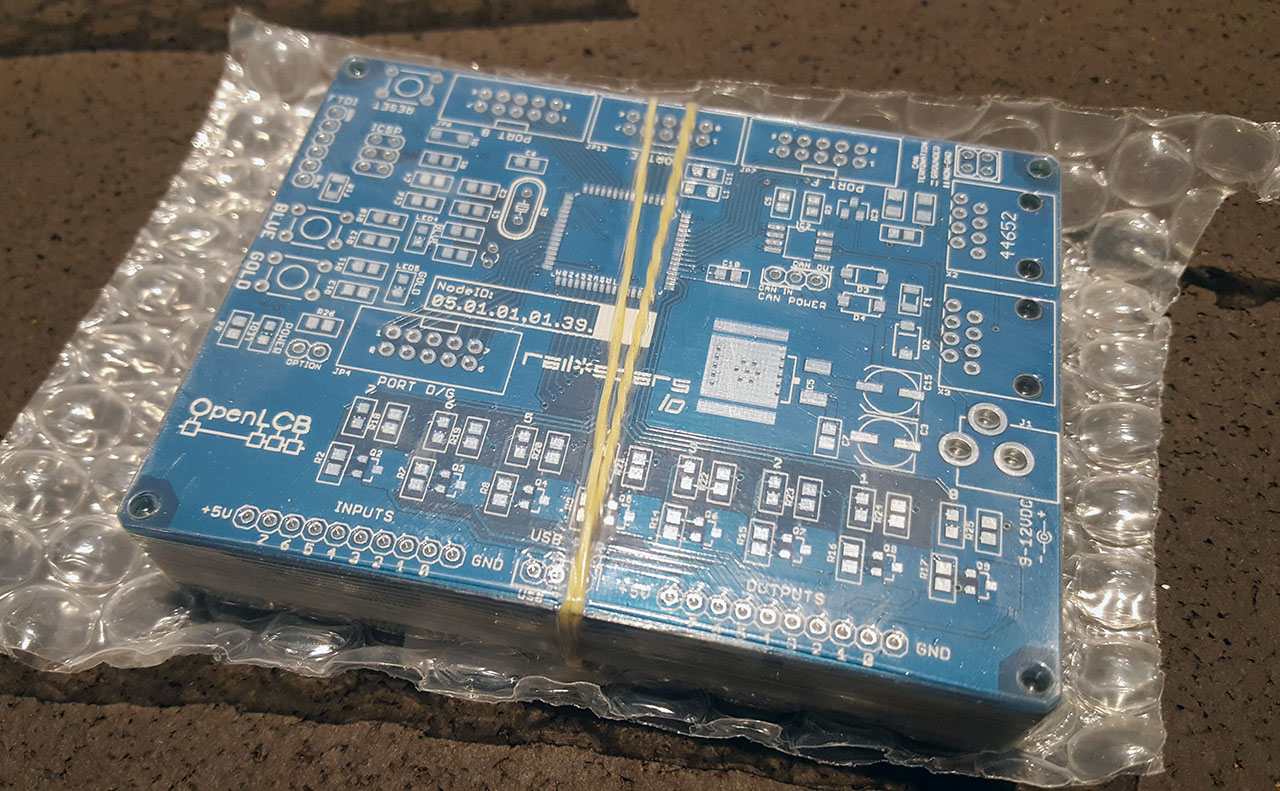
I also had Railstars:io boards made, too since it does similar things and was also showcased in the above mentioned clinic. The more LCC, the merrier I say. I ended up ordering the PCBs made from PCBway.com and that turnaround was 1 week, package at my door. Amazing! The boards look great too, and for the price ($5 for 10 of each design) can’t go wrong.
Next was getting the Bill of Materials sorted out with Balazs, as he had tuned some parts in the mean time. Good thing it was brought up in our conversations, else I’d ordering wrong parts. Digi-Key is pretty fast shipping things, place an order, and overnight parts are here.
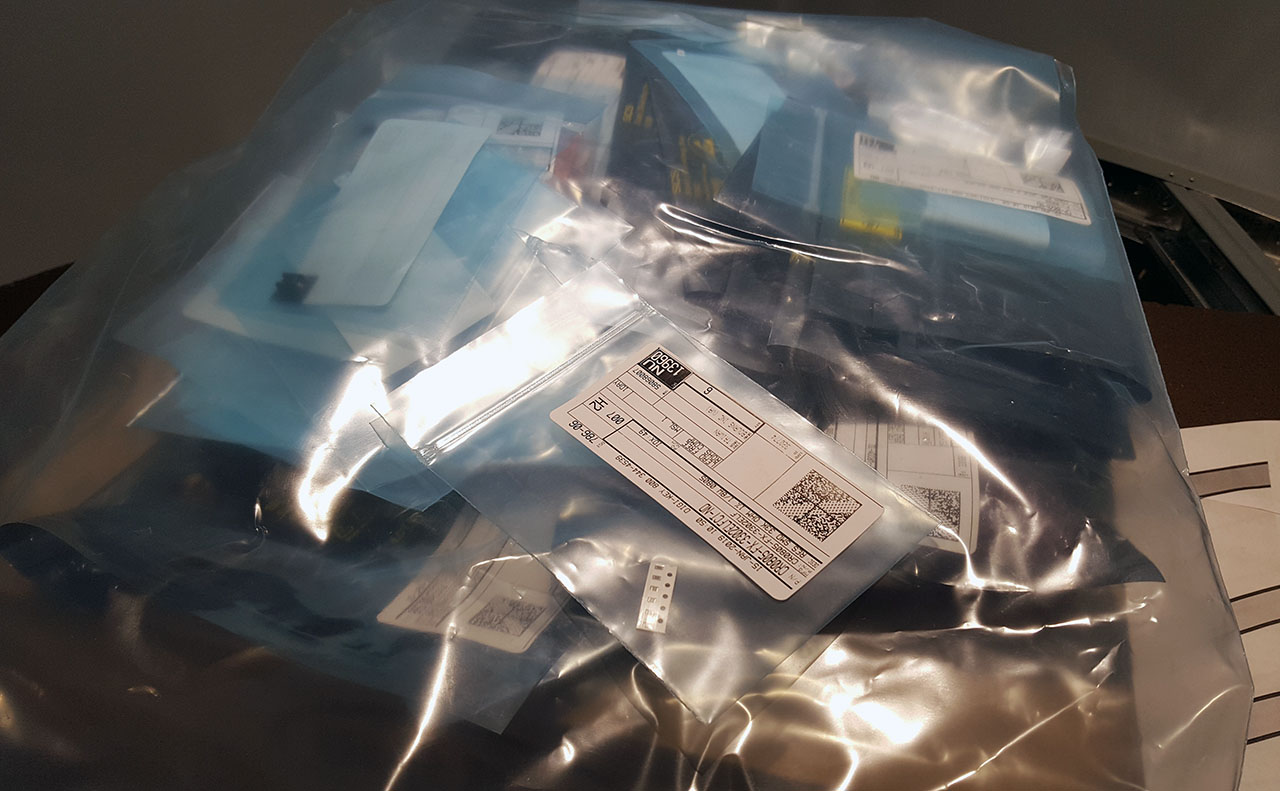
Of course, bonehead here ordered just the exact amount of parts, to keep the costs as low as possible. Don’t do it like that! If you are working with SMDs they tend to fly all over the place and get lost easily. I did not lose any yet, but always have spares on-hand.
Then I had to setup my workbench for soldering SMD parts. If you are batshit crazy like me, you will use magnifying visors instead of a real microscope. Ok, I admit I was lazy to setup my microscope, and there isn’t that much room as you can see. You might not need a fancy JBC soldering station like mine, but having a really good soldering pencil and soldering micro-tweezers helps, no doubt. Wear gloves as you will handle solder and components prone to static electricity. A stand to hold the PCB is really a must, this one is a generic one from Amazon.
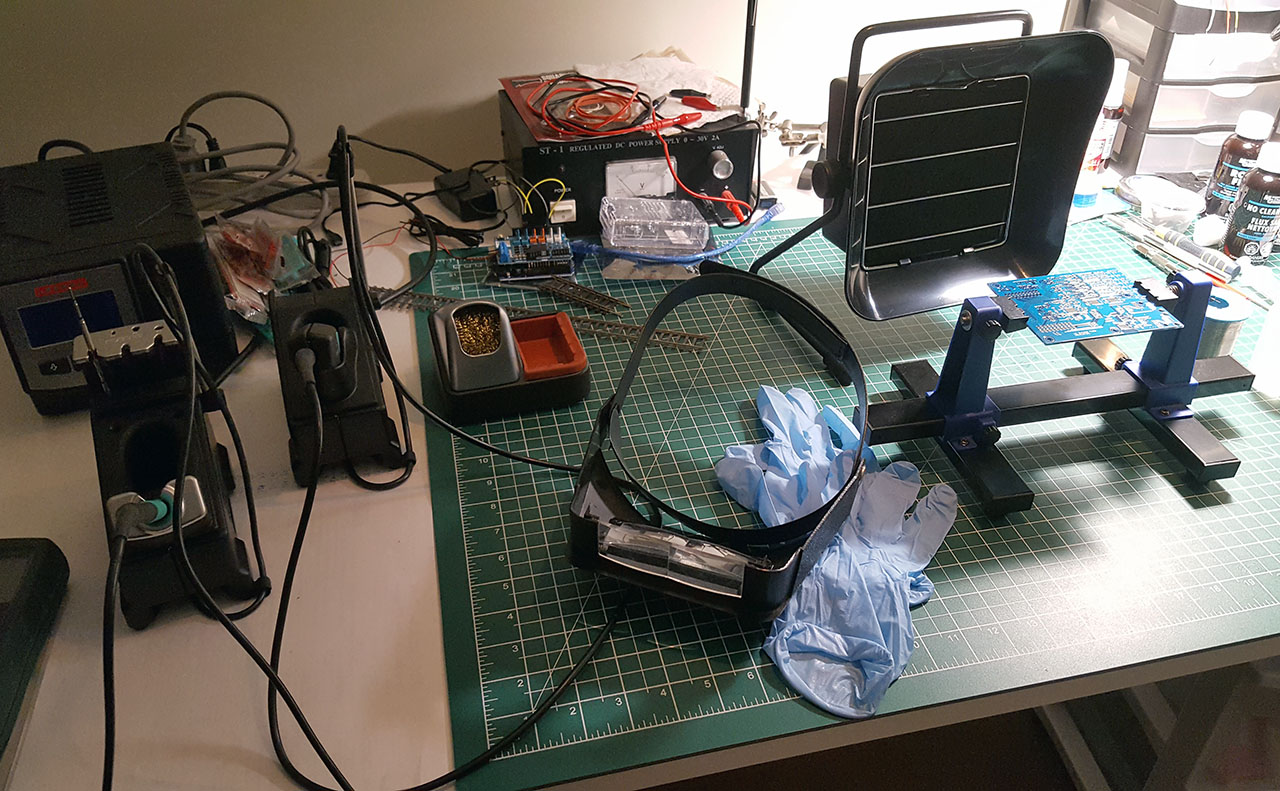
Remember to get plenty of no-clean flux (don’t skimp on it, spread generously around the soldering area), smallest diameter solder you can find – leaded, don’t waste your time with lead-free as it is hard to use and needs a slightly different setup. By the way, that Weller fume extractor is garbage. The suction power is terrible and unless you are couple of inches away from it, I don’t see it sucking fumes away. Bah, I had to keep blowing air myself to push fumes away from me.
Then you start, and every start is hard. The components are tiny and you are bulging your eyes out. They are swimming around in flux and your hand-eye coordination is not up to par, yet. Yeah, well I haven’t soldered SMD in awhile, so a bit rusty here. Start with smallest components in the list (0603, I HATE YOU) and go up from there.

I kind of worked my way from the input stage (upper right corner) on, soldering transistors and resistors first, then diodes, caps, ICs and lastly connectors and larger components. Keep a checklist going and scratch what you’ve completed already.
Really, it’s a matter of style and practice. Back in the through-hole days, one would do smallest components first and increase size as they go, because it would be easier to solder. You need to flip the board to solder, and if you have larger parts on already, they end up being in the way, and what not. With SMD, it’s all “surface” mount, though larger parts still end up being in the way because clearances are even tighter and pads closer.

Also, handedness matters (at least to me, it sort of sets a direction you work in) and you need both hands to do this: one for the soldering pencil, the other for solder wire or some tool to hold the component in place (or both). Then there’s the flux dispenser you need to keep in reach and if you are working under a microscope, you don’t see your hands, only tips of your tools and a small area of the PCB. FUN!