The Helix, part 5 of many
The day wasn’t spent in Shipping/Receiving parcels, as the previous post might make it look like. No Sir, actually real work has been done on the railroad. Crews have been busy drilling the sub/road bed and fitting turnouts and motors. Finally, we are “doing trains” !!

Naturally, it did not go without its own trials and tribulations. My first tortoise ends up being the hardest one. Because of the awkward positioning of the ramp on the helix, one turnout ended up right above a metal stud. Swell. After scouring the web for some solutions that others have made, I opted to just install the motor off-center, but skip the contraptions that some people have made to fit it all together.
Instead I just bent the piano wire in appropriate directions and steps and voila. Tested and working. I added a small piece of aluminium tubing that will be caulked into the cork below the throw-bar. I saw some people countersink their holes, so I did that as well. I had to make the hole somewhat larger than suggested 1/4″ because the ramp sits 1″ above the top surface and the wire needs to travel more.
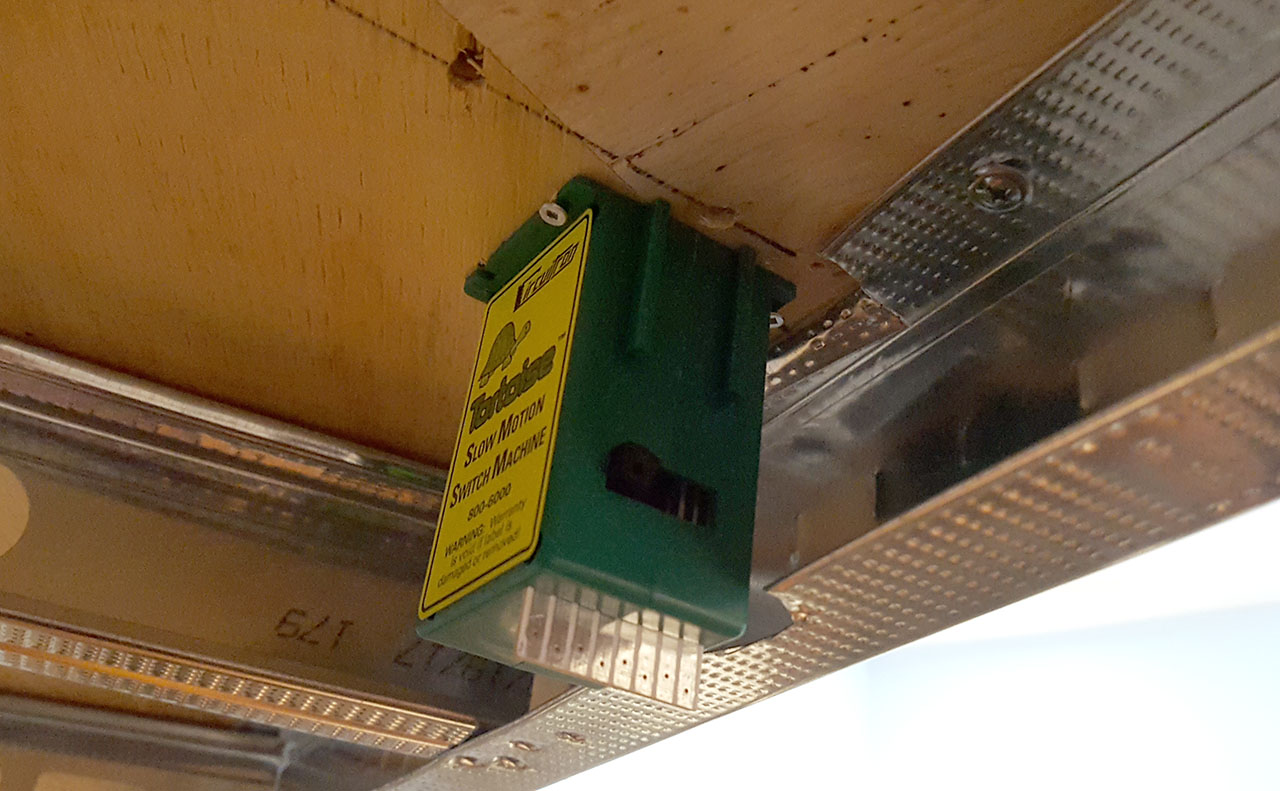
I also had to trim the metal stud to fit the motor. And the mounting holes are not perfectly aligned either. I used the paper template from the instructions that I transferred to a piece of 1/8 masonite, but then holes I drilled in it were not all straight. Gah, I really need a drill press…
I did better on the later motors, by fitting a motor in place and forgoing the template altogether, just wish I did this one the last, as it was the most complex one.
Oh yeah, I still managed to screw up though. Hours later I realized that I need to put a piece of closed cell foam between the motor and the plywood. Which means that the piano wire I expertly bent into proper shape will now come short because of the thickness of the foam. Bloody hell!