Utility Cart Project
Looking at all the stuff lying all over the staging deck surface, I realized I needed a cart for all those tools and supplies and what not. After checking the prices, I decided I wasn’t going to pay from $150 and up to $500 for a molded/extruded piece of recycled plastic on 4 rubber wheels. So, I set on to build me a utility cart of materials at hand (I had to buy the wheels though).
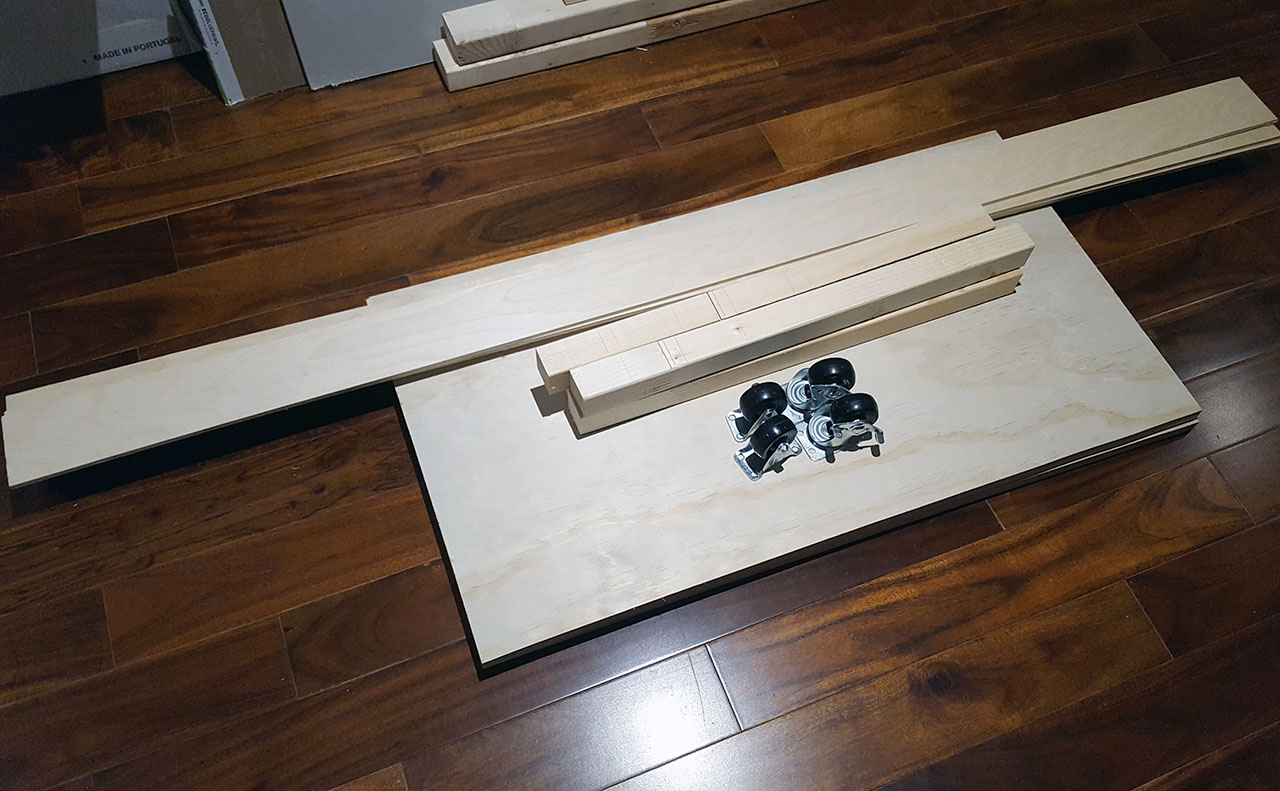
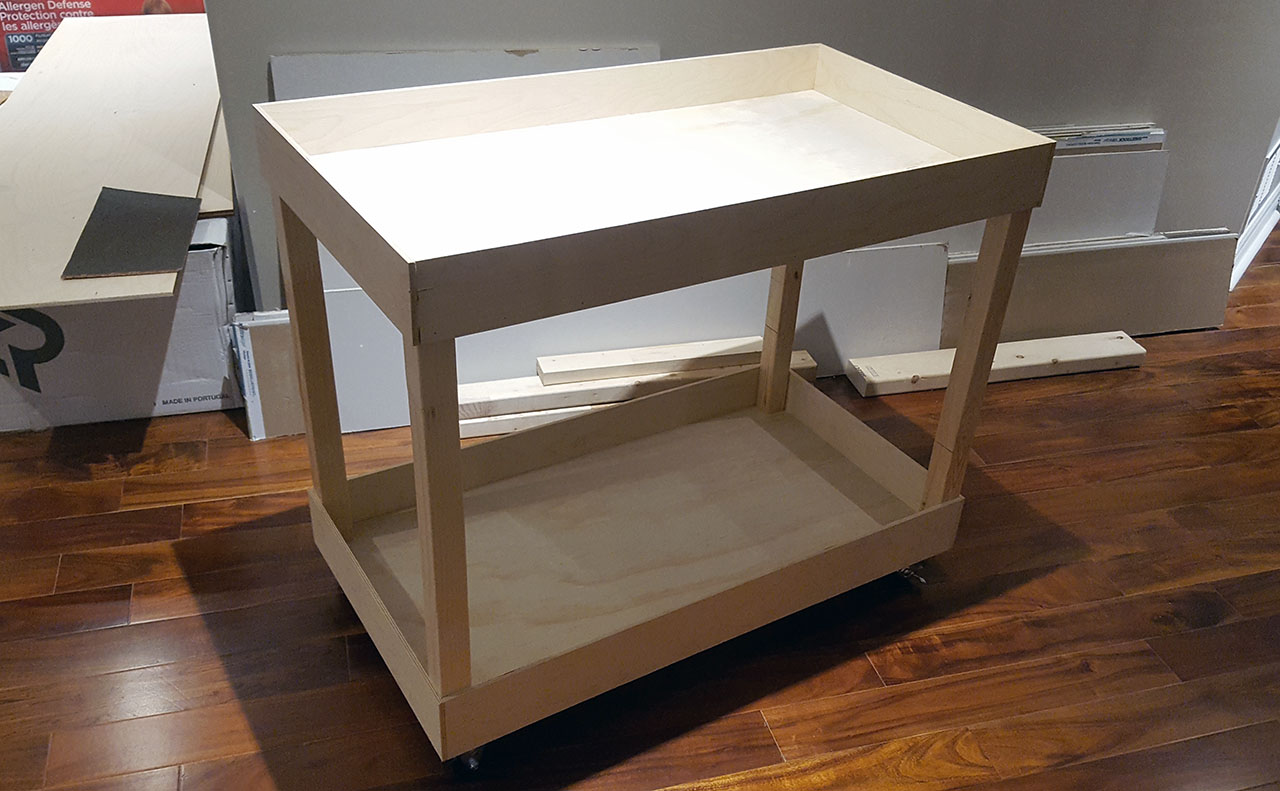
Make a design you like or just copy from many photos of plastic carts. I opted for two shelves, 3″ deep bottom and 2.5″ deep top one. My total height budgets was 28″ because I wanted to be able to roll the cart under the benchwork for storage. Since my floor is uneven, it can’t fit in the West side of the room, only in the East.
Right, building…attach the uprights to one surface (glue, wait a bit to dry, then turn over and drive 2.5″ wood screws through):
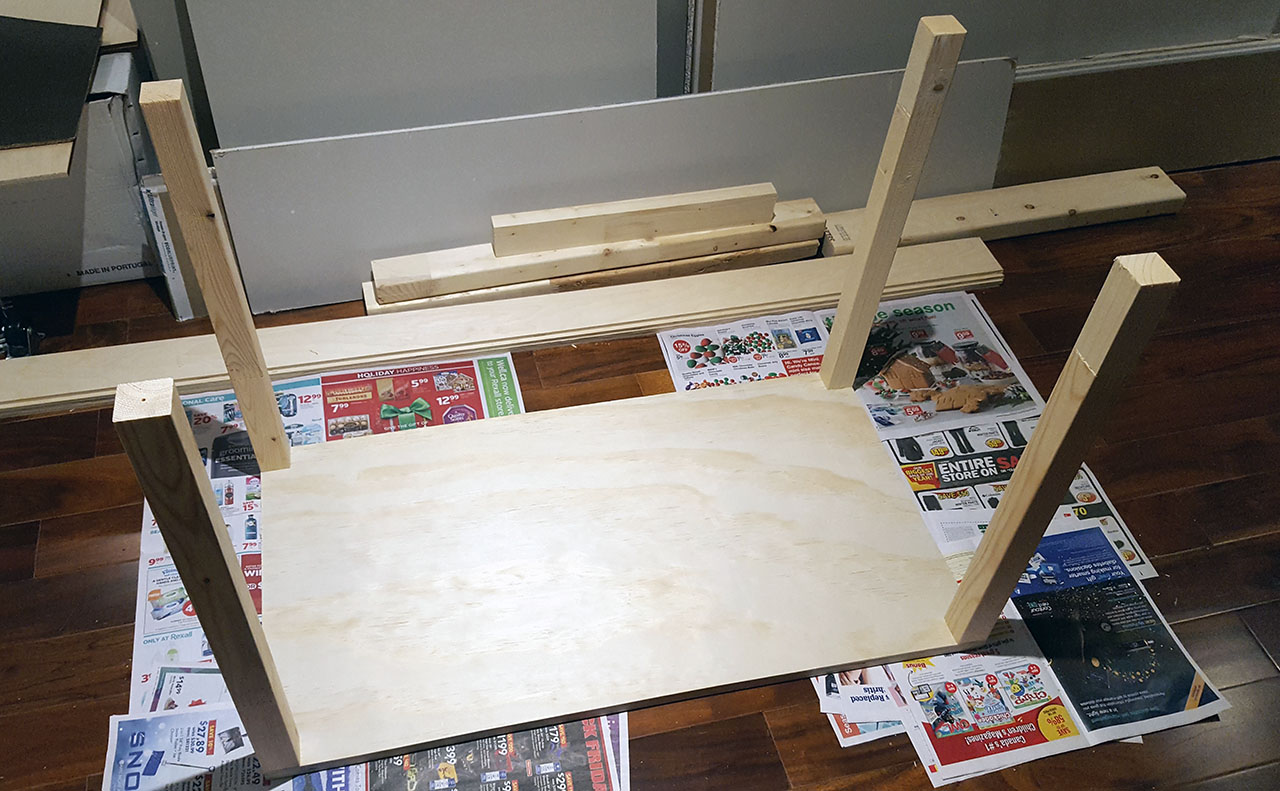
Then the other side, the same thing as above:

Next, add the sides, glue and brad nails (careful not to nail down your fingers, safety first):
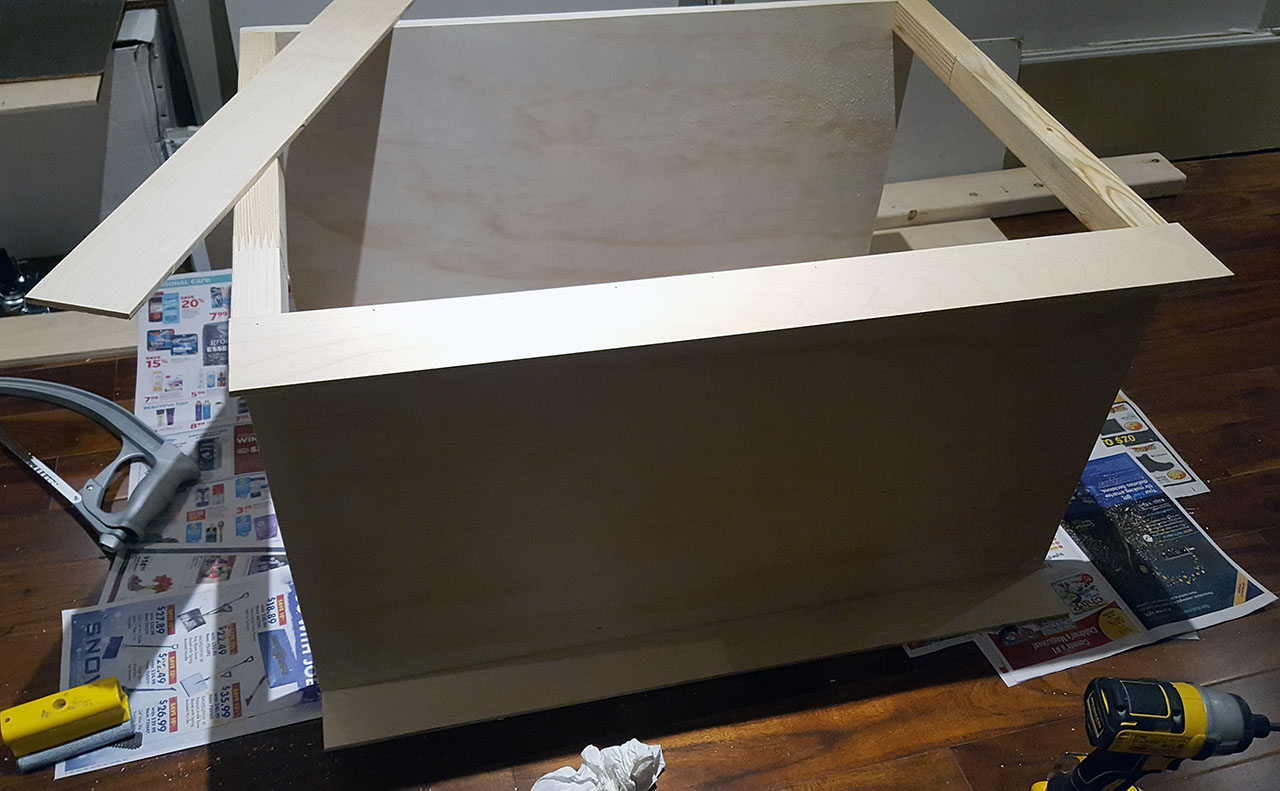
Rinse and repeat until all sides are done then flip upside down and add wheels:
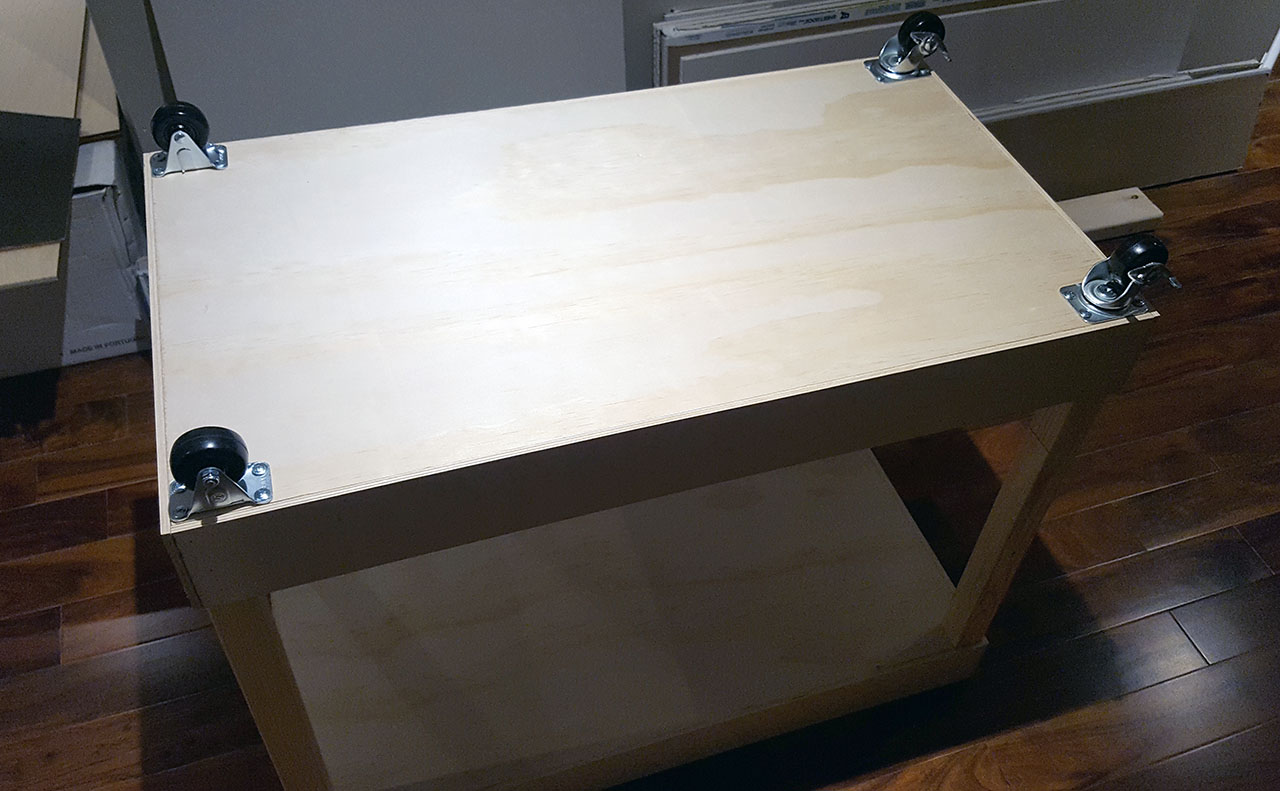
You could stop here and just use it as-is:
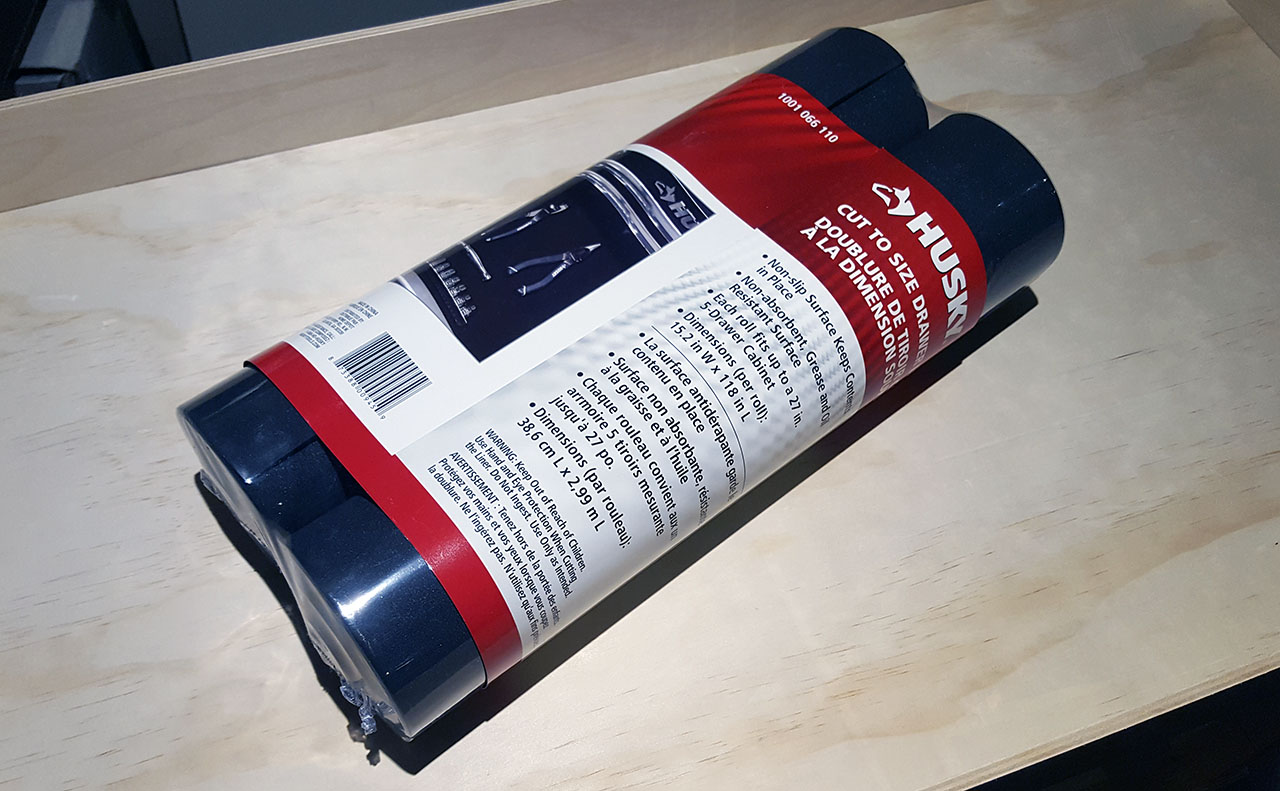
But why when you can add some drawer lining that you got lying around from a previous layout attempt in N Scale:
And paint the whole cart to make it look pretty:

I’ll probably just pile things up on it until I can devise a way to organize things. Will definitely need some holder for spools of wire and soldering iron stand, etc.