The Helix, part 4 of many
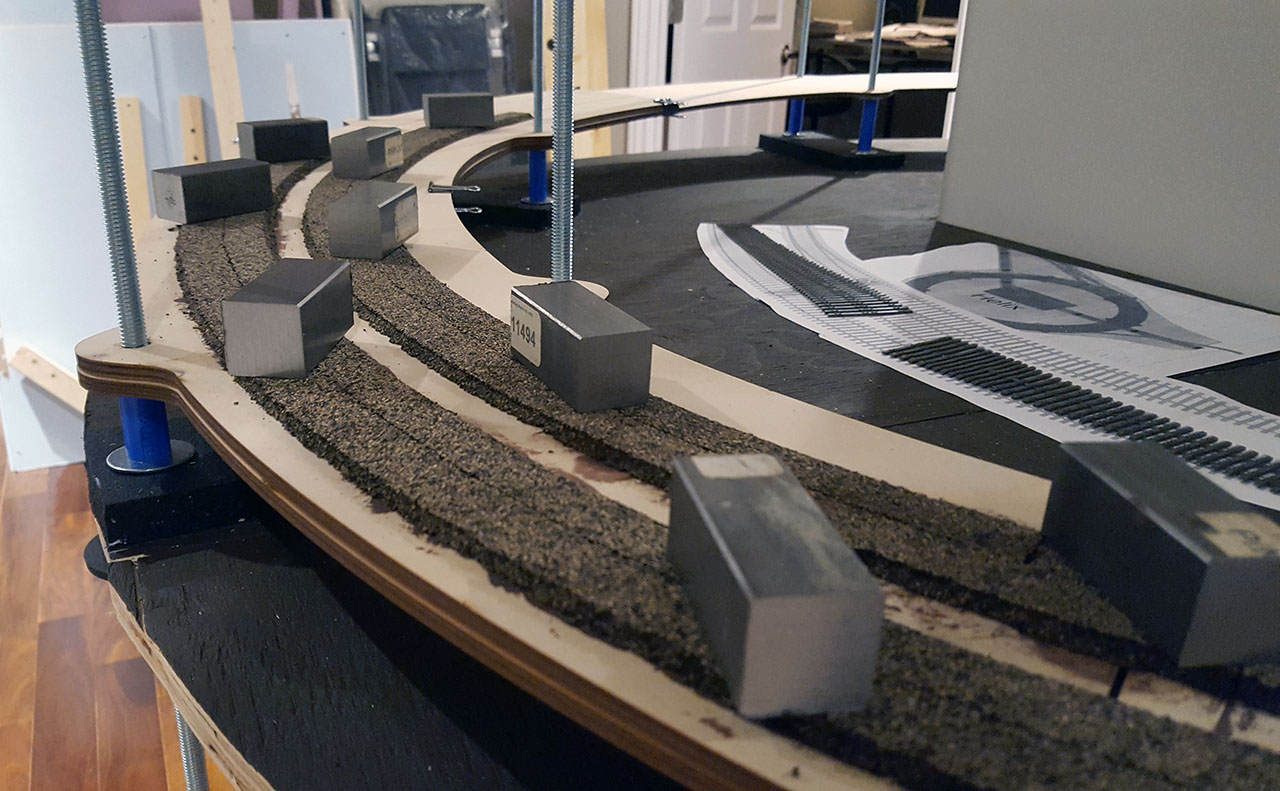
…or “Making a Mess”. It was bound to happen after spinning in circles for a day, trying to figure out whether I’ve missed something glaringly obvious or not. I wasn’t ready to commit cork to the helix sub-roadbed yesterday, so today I bit the bullet. Truth be told, I did re-adjust 3 spots on the threaded rods last night where the height did not match the calculations, but that was only a matter of adding or removing a 1/32″ washer. There’s no going back now.
I started with the ramp section and right away realized I need more practice. Well, actually just finding the right method out for applying caulk. The area looks like a mess because I applied a bead of caulk along the centerline, effectively hiding it. Then I did scrape it off in a few spots just to see where the center is.
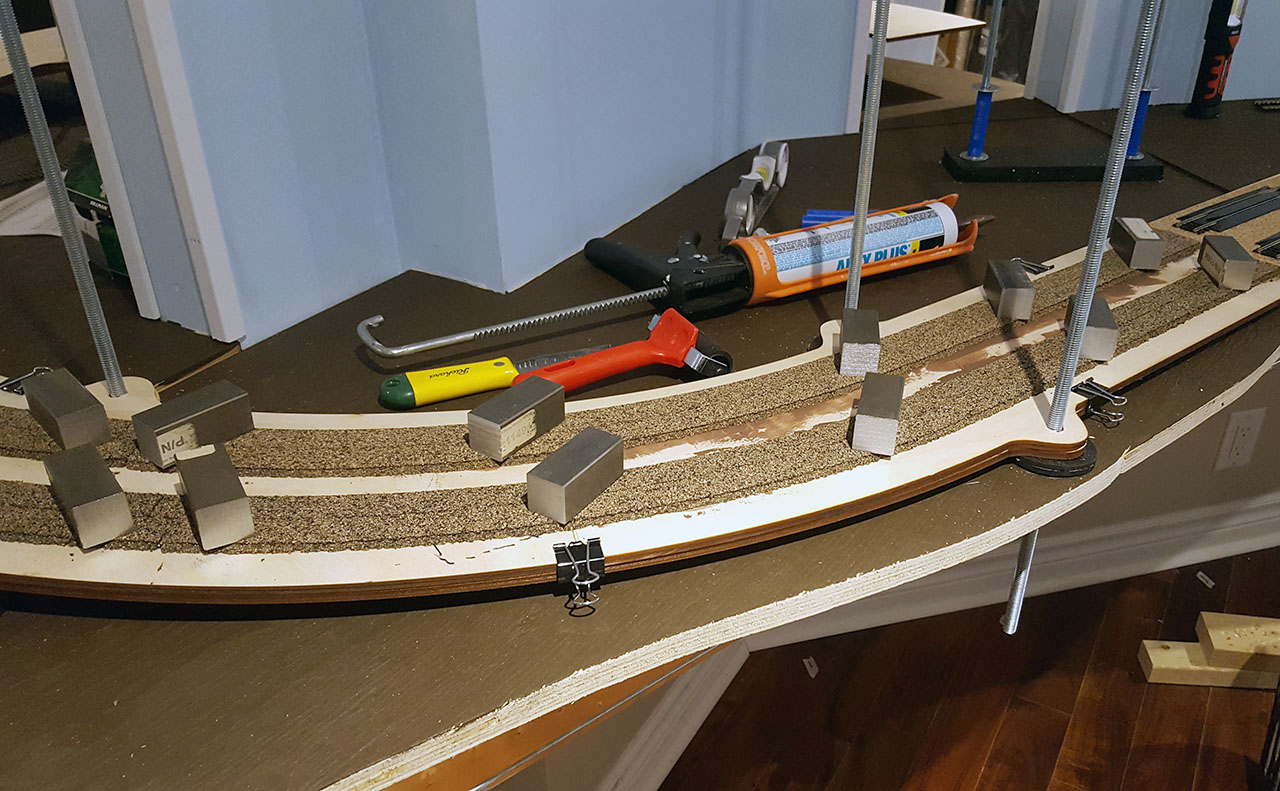
After those first couple of strips I decided to do one side of the centerline at a time, and that looks much neater and works much better. I use stainless steel 1″ blocks just to keep the cork pressed down, but I go over the cork with a 2″ roller (red handle in the photo above) to press it into the caulk layer.
That provides better bonding and becomes solid faster. I also use my fingers to push the cork halves closer to each other to get the clean edge. Important part is to ensure to always use the same half-side of the cork when continuing to lay it down (when you split the MidWest Cork halves, one side is slightly wider than the other). Coincidentally, the area pictured above will also house a cross-over turnouts.
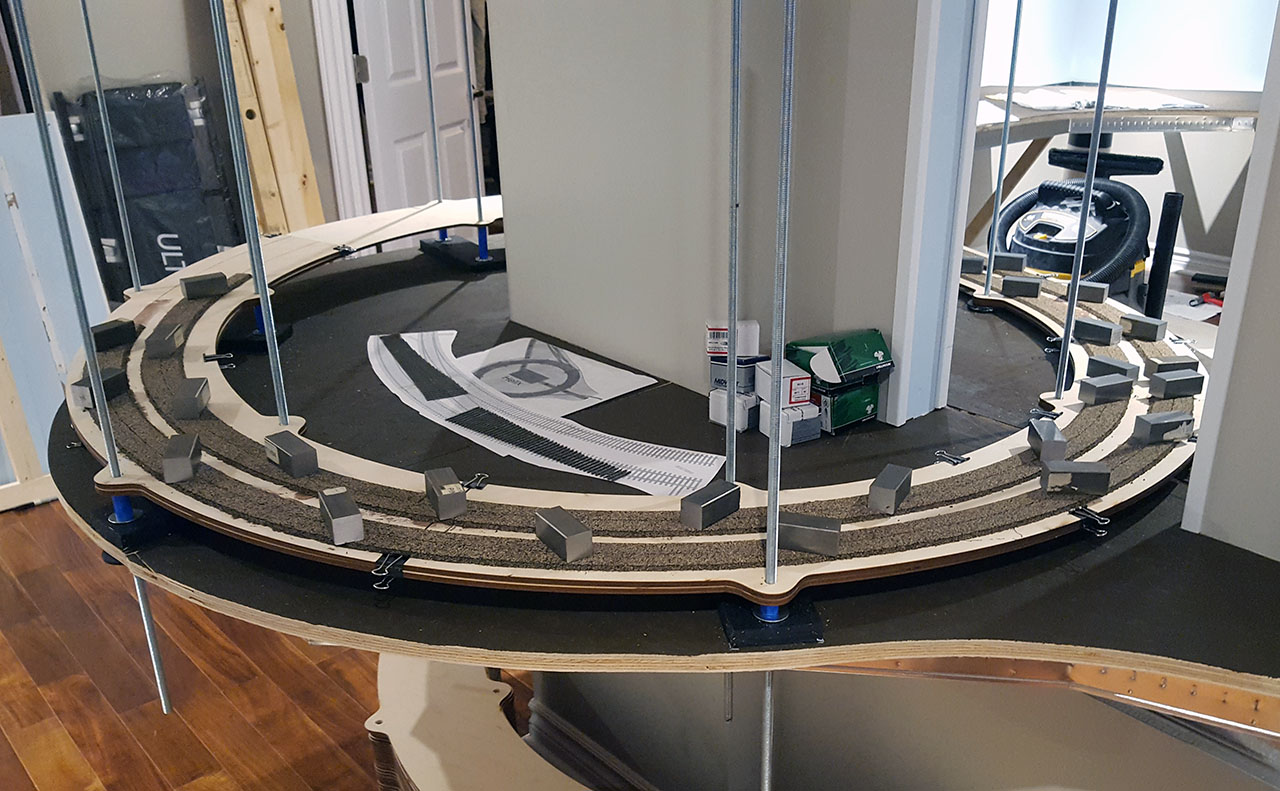
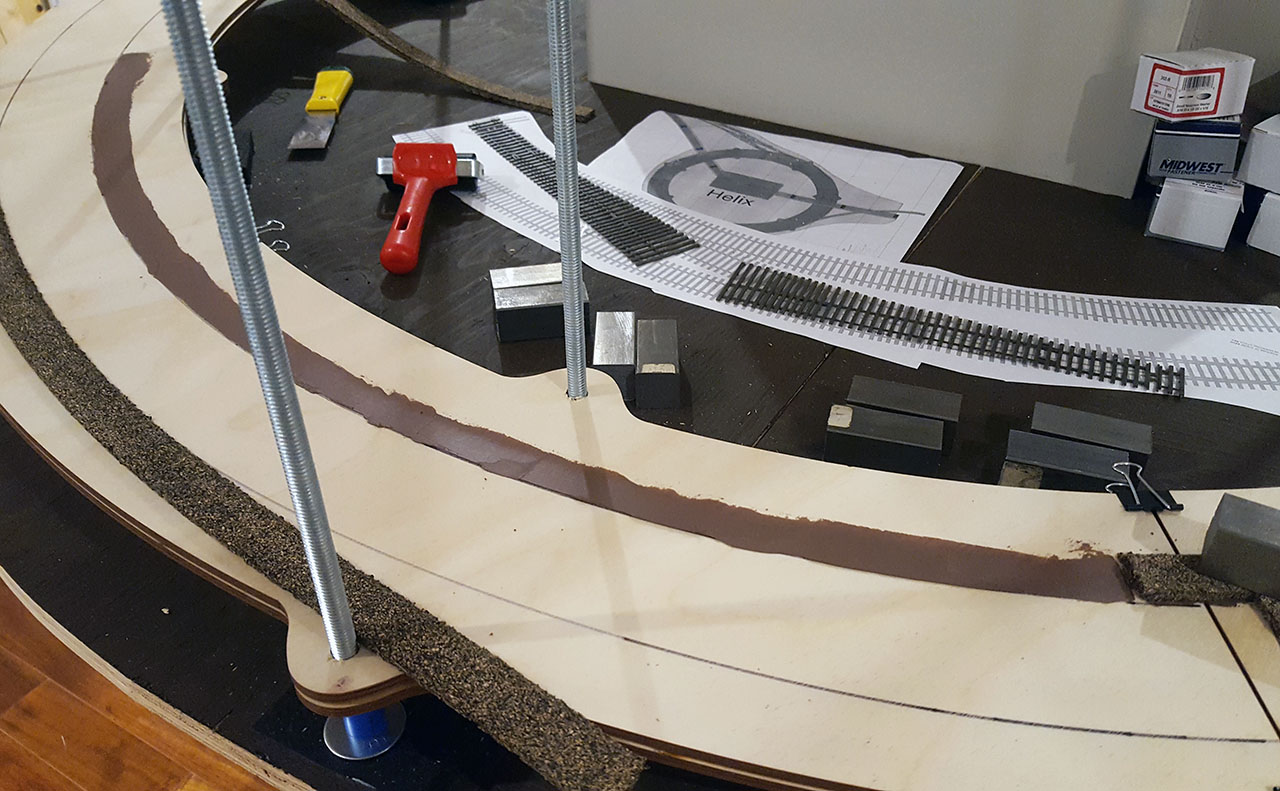
I’m going to stop with the cork here, as I can’t proceed further because the ramp track/turnouts need to be installed before I can go over it with another helix segment. I also need to add some more cork in the areas where a cross-over is going to be and the branch-off Y turnouts, as seen below:

The Y turnout at the top is a temporary piece of track to let me complete a loop around the staging deck so I can run trains while building. After it’s all said and done, I might leave that turnout and disable it (the bridge track is temporary as well), or remove it altogether.
The Y turnout in the middle that looks awkwardly placed because it’s facing away from the outer track is actually to allow trains descending from the inner track to enter the staging from the opposite direction. That’s why that cross-over is situated near by as well. The Y turnout will also allow trains to leaving the staging from the opposite side (to the right) and go up the helix.